
Configure Splunk to Use VMware Identity Manager as a SAML IdP
Splunk Enterprise is an awesome platform for analyzing massive amounts of data at scale. Because of this, it’s a popular system for aggregating log data from VMware virtualization environments. Its flexibility and ability to search through significant quantities of log data at great speeds is why I’ve been utilizing it for years. Today I’m going to go over the process to integrate VMware Identity Manager (vIDM) as a SAML 2.0 identity provider (IdP) for Splunk Enterprise authentication.
Why Use VMware Identity Manager
VMware Identity Manager is already running in my VMware environment to support vRealize Operations. Being able to utilize the same single sign-on system for additional applications within my VMware environment makes life easier. Additionally, VMware Identity Manager supports two-factor authentication methods such as RSA SecurID and X509 certificate (smart card).
Items to Keep in Mind
- VMware Identity Manager is a licensed product and as such, you need to be sure that you are licensed properly.
- VMware Identity Manager does not have the ability to pass group membership information as part of the SAML assertion back to the Splunk Enterprise. Because of this, you’ll need to add Splunk Enterprise to the VMware Identity Manager catalog multiple times to support each Splunk Enterprise user role.
- Splunk Enterprise requires that the following information be passed back as part of the SAML assertion from the IdP: Role
- Splunk Enterprise will use the following information if it is passed back as part of the SAML assertion from the IdP: Email, Real Name
- Splunk Enterprise (as of version 7.2.6) does not support encryption of SAML assertions
Assumptions
This post assumes the following:
- A fully functioning Splunk Enterprise deployment already exists
- Splunk Enterprise is configured to utilize HTTPS
- A fully functioning VMware Identity Manager deployment already exists
- Splunk Enterprise and VMware Identity Manager can communicate with each other via TCP 443
- This post is based on Splunk Enterprise 7.2.6 and VMware Identity Manager 19.03
Download the VMware Identity Manager Identity Provider Metadata XML
The first item that we need to begin configuring Splunk Enterprise to utilize VMware Identity Manager as a SAML IdP is to obtain the SAML Metadata XML for the IdP. This can be obtained by accessing the following URL: https://
Additionally, you can access this file by logging into the VMware Identity Manager administrator console at https://

Next, click the SAML Metadata link on the left side of the Catalog Settings window to display the links to the SAML Metadata. Download “idp.xml” file from the Identity Provider (IdP) metadata link.

Configuring Splunk Enterprise for SAML Authentication
Import the SAML IdP Metadata into Splunk Enterprise
To being the process, access your Splunk Enterprise deployment’s Access Controls configuration via the following URL https://

Next, select Authentication method to load the Authentication Method settings page. Select SAML from the list of External authentication methods.

Click the SAML Settings link to access the SAML Groups settings page then click on the green SAML Configuration button at the top right of the page. This opens the SAML Configuration dialog box to allow for us to begin configuring our SAML integration.


Click the Select File button next to the Metadata XML File label to import our IdP metadata XML file. Select the idp.xml that you downloaded from your VMware Identity Manager deployment. This will populate several of the SAML configuration fields for us with information specific to our IdP.

Configure Additional SAML IdP Settings in Splunk Enterprise
We now need to modify the following settings:
- Set Replicate Certificates to true
- Enter a unique name into the Entity ID field that will represent your Splunk Enterprise instance when adding it to VMware Identity Manager. For this example, we will use “splunkweb”
- Set Sign AuthnRequest to true
- Set Verify SAML Response to true
- Enter the FQDN used to access your Splunk Enterprise deployment into the Fully qualified domain name or IP of the load balancer field
- Set both SSO Binding and SLO Binding to HTTP Post

Click the Save button to save the SAML Configuration to Splunk Enterprise.
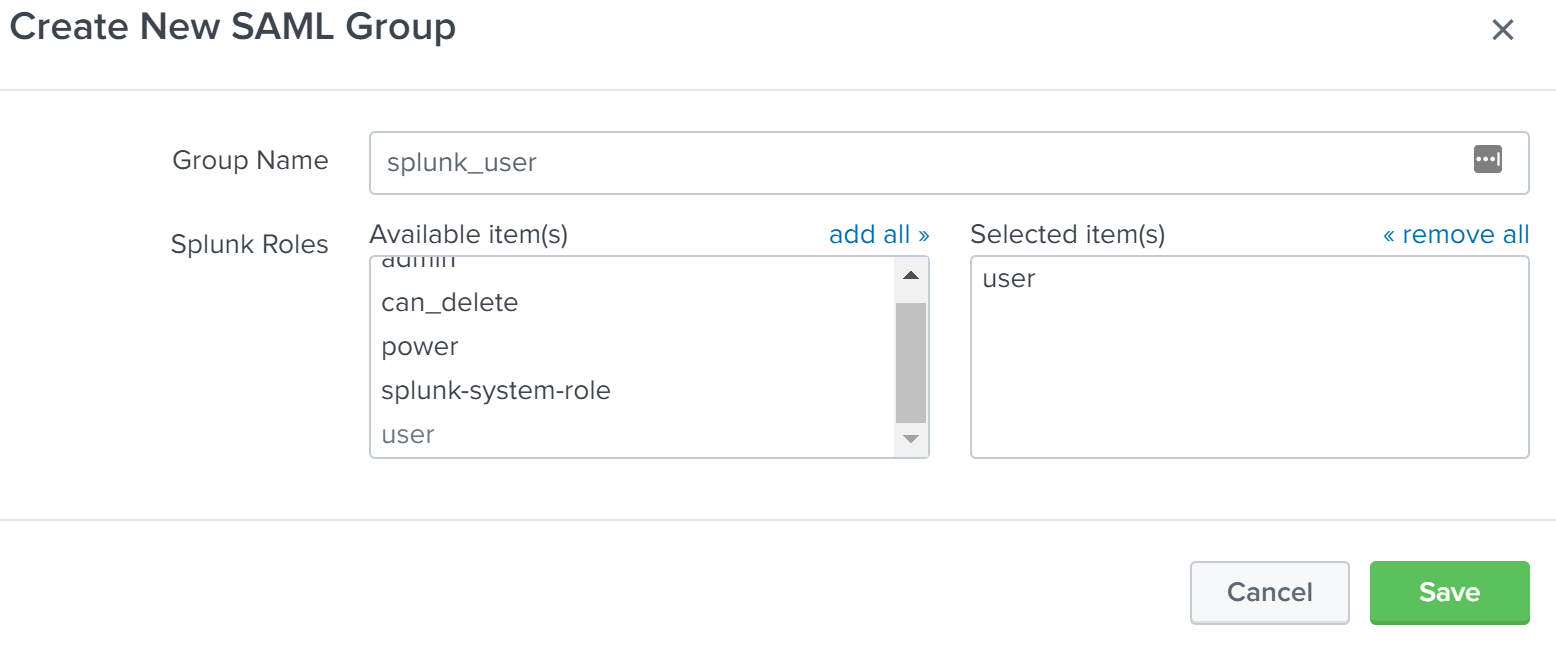
Define SAML Groups in Splunk Enterprise for Splunk Roles
In this example, we will configure two SAML Groups for use in assigning Splunk Enterprise roles. The two groups will be “splunk_admin” and “splunk_user”. The “splunk_admin” group will be assigned the “admin” role in Splunk Enterprise and the “splunk_user” group will be assigned the “user” role in Splunk Enterprise. To create the first group, click the New Group button on the SAML Groups page. Enter “splunk_admin” into the Group Name field, then click on “admin” in the Available item(s) list next to Splunk Roles to add the “admin” role to the Selected item(s) list. Click Save to finish creating the SAML Group. Repeat this process to create the “splunk_user” role, but instead, select the “user” role from the Splunk Roles list.

Download the Splunk Enterprise SAML Service Provider (SP) Metadata XML
Now that we have configured Splunk Enterprise to utilize SAML Authentication, we need to download the SAML Service Provider metadata XML file from Splunk Enterprise. This file will be imported into VMware Identity Manager when we add Splunk Enterprise as a Web App into the VMware Identity Manager. To download the metadata XML, click on the green SAML Configuration button at the top right of the SAML Groups page. Then click on the Download File button next to the SP Metadata File label.

Splunk Enterprise is now configured to utilize VMware Identity Manager as a SAML IdP for all future authentication requests. Next, we will add Splunk Enterprise into VMware Identity Manager to allow it to authenticate the user and provide the proper SAML assertion back to Splunk Enterprise.
Adding Splunk Enterprise to VMware Identity Manager
Now that Splunk Enterprise has been configured to utilize VMware Identity Manager as a SAML IdP, we will add Splunk Enterprise as a Web App into VMware Identity Manager. Because we will support two roles in Splunk Enterprise (splunk_admin and splunk_user), we will add Splunk Enterprise into VMware Identity Manager twice.
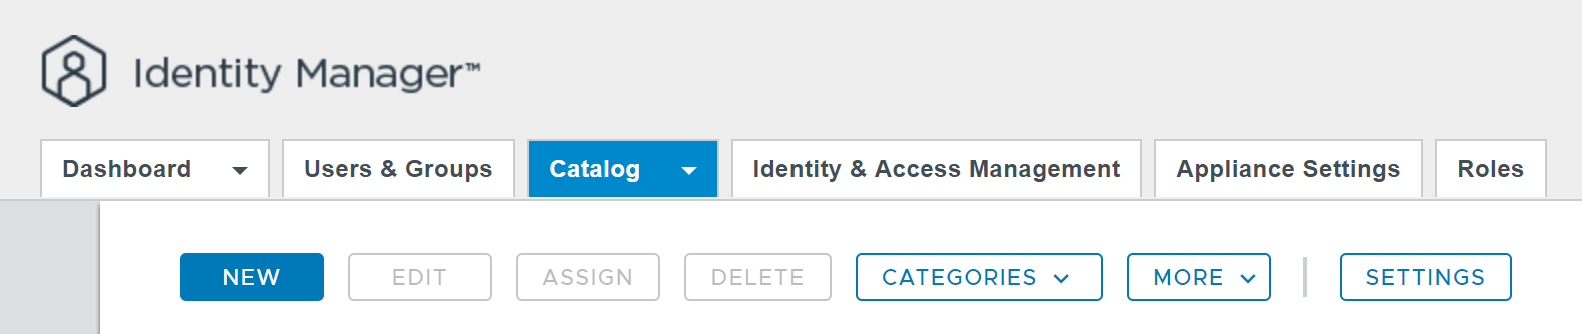
Create a new Web App in VMware Identity Manager
To create a new Web App in VMware Identity Manager, log into the VMware Identity Manager administrator console at https://
We will use “Splunk - Administrator” for the Name and leave all of the remaining optional fields empty.

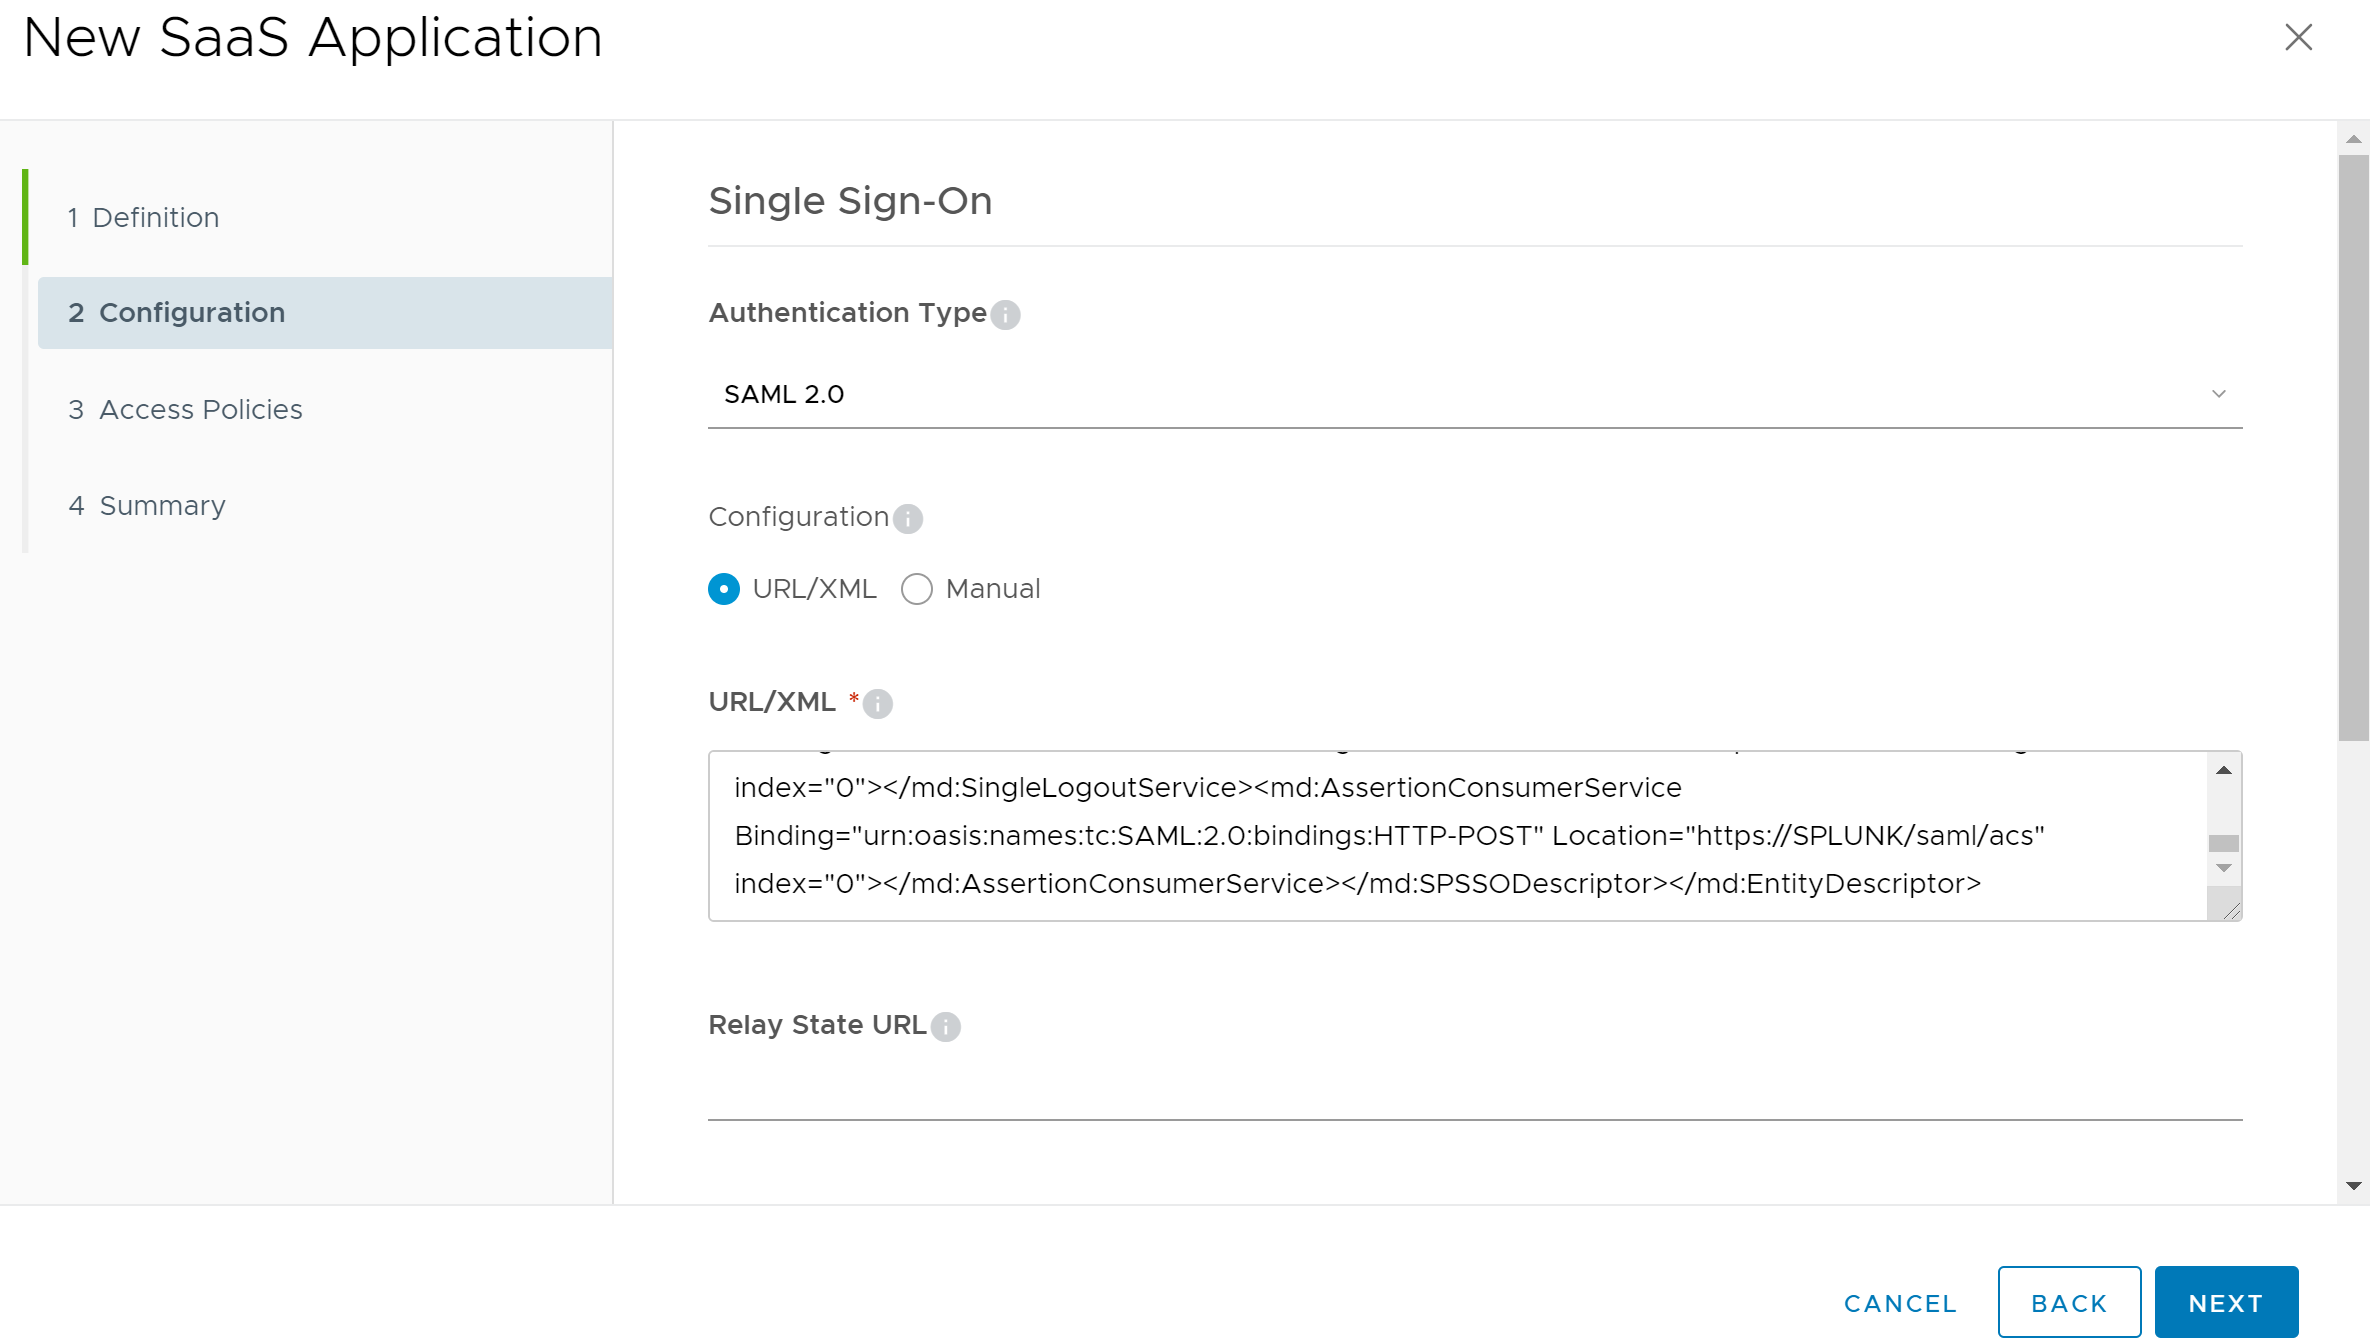
Next, on the Configuration page of the wizard, set the Authentication Type to “SAML 2.0”. Then using your favorite text editor, open the SPMetadata.xml file that we downloaded from the Splunk Enterprise Server. Copy the entire contents of the file and paste it in the URL/XML field of the wizard.
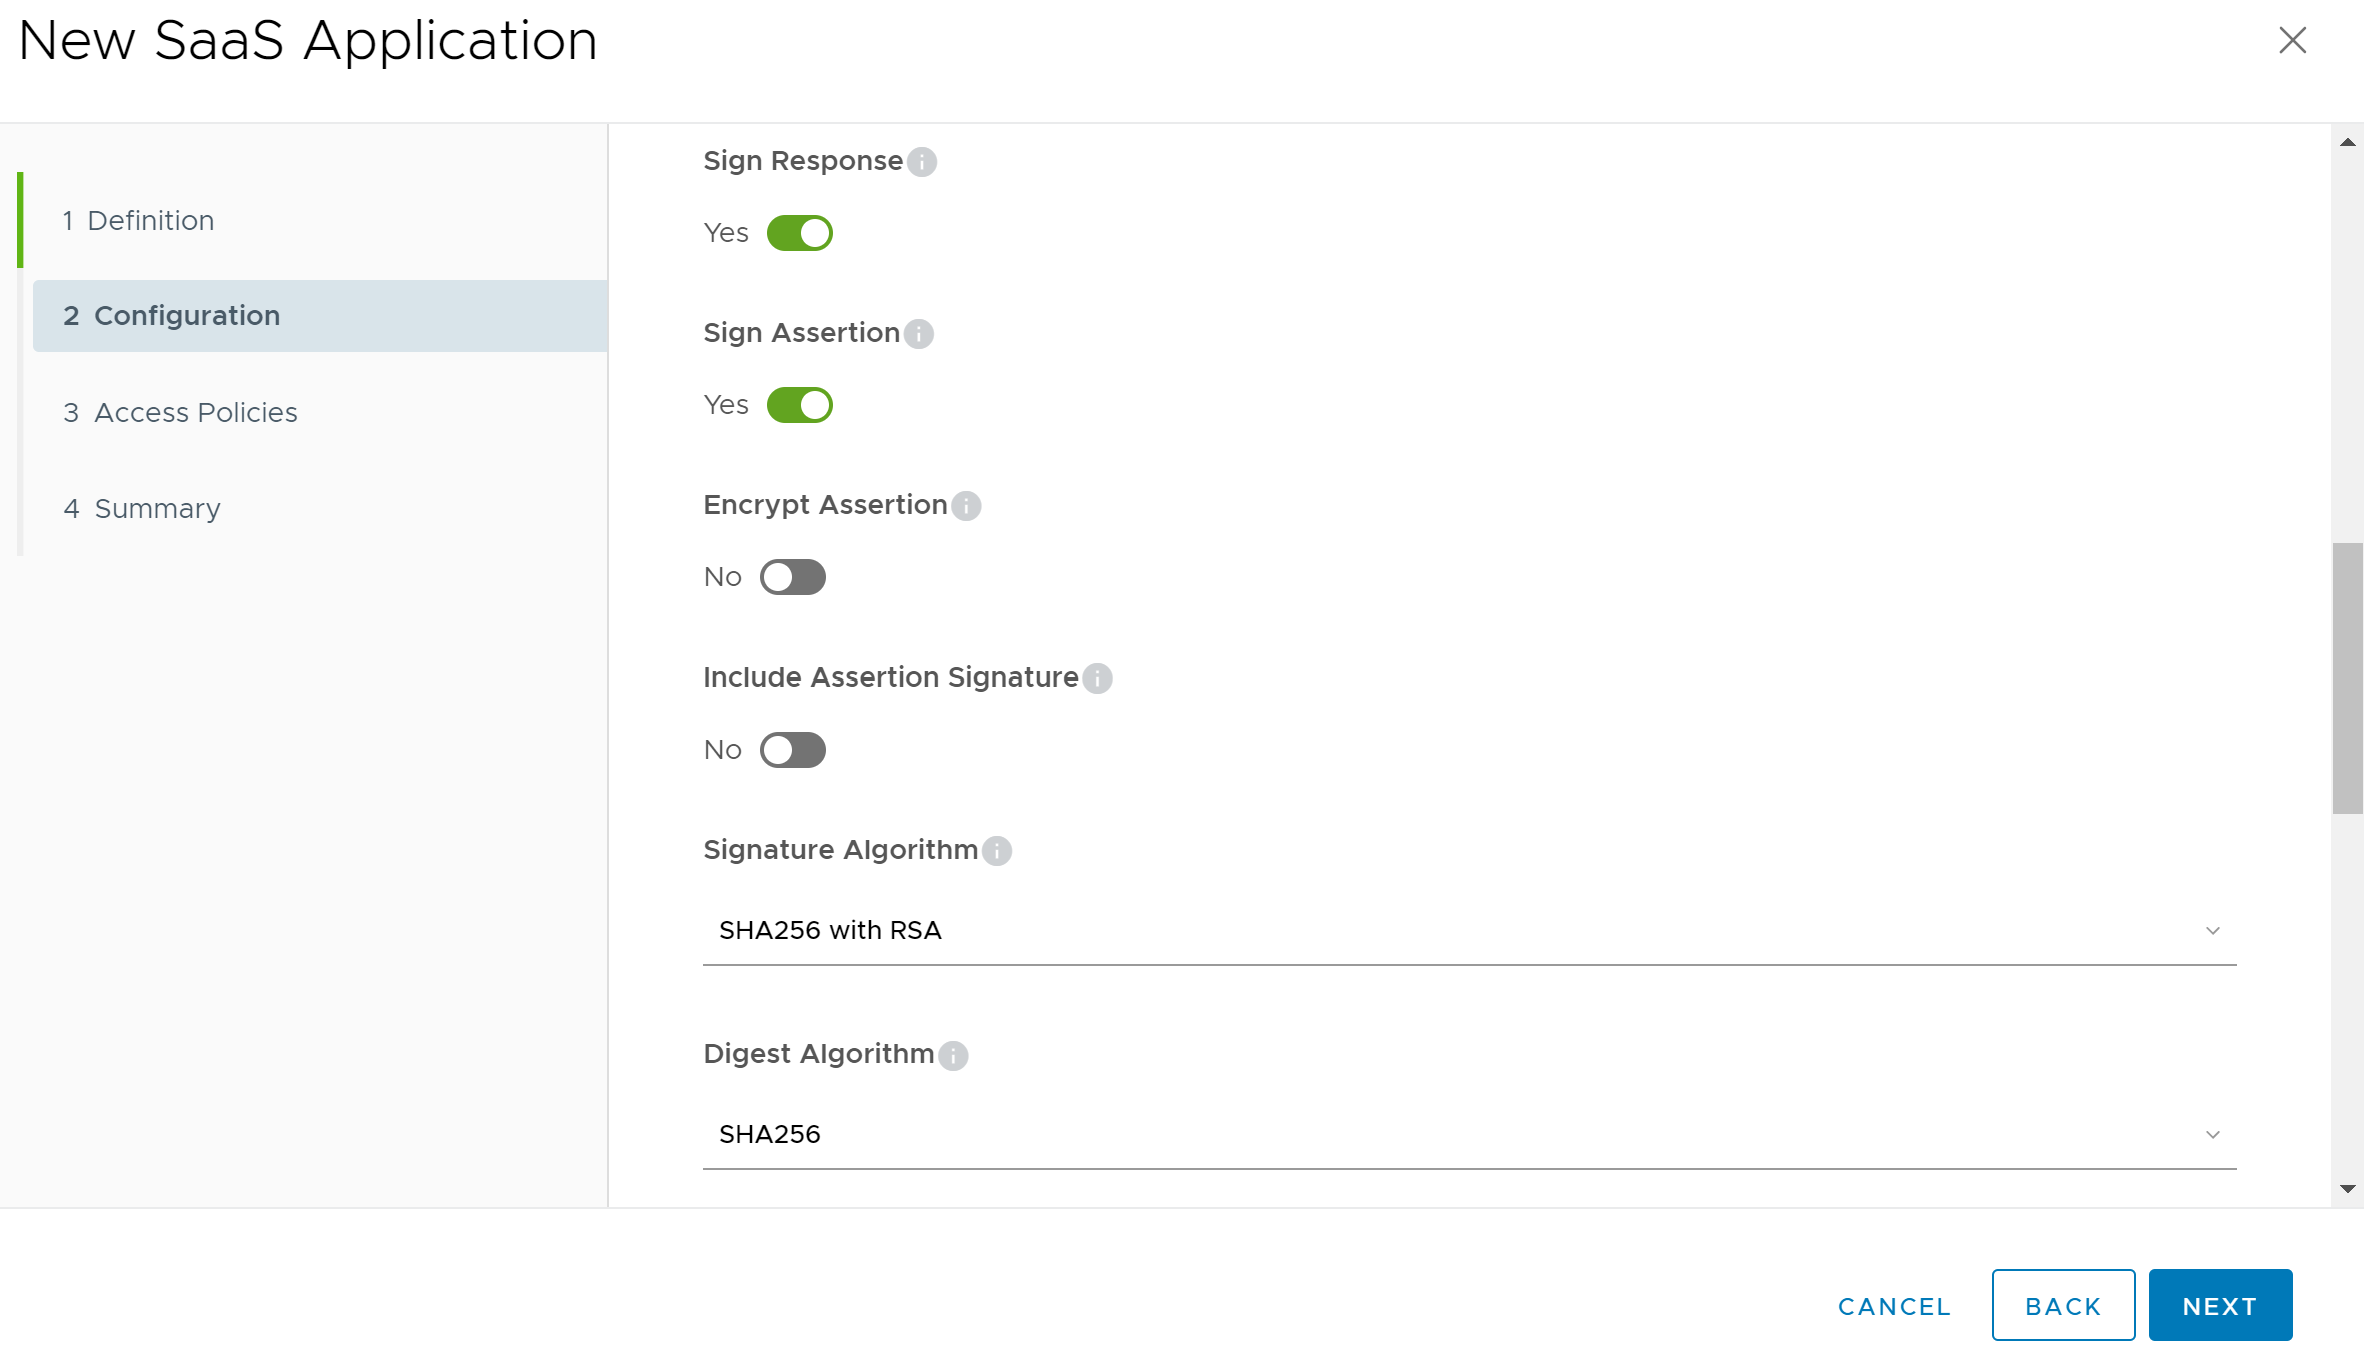
Scroll down the page to the Application Parameters section and click on the Advanced Properties link to expose additional advanced property fields. Next, set the Sign Response, Sign Assertion, and Include Assertion Signature settings to enabled. Set the Encrypt Assertion to disabled as Splunk Enterprise does not support encrypted SAML assertions. Next set the Signature Algorithm field to “SHA256 with RSA” and Digest Algorithm fields to “SHA256”.
Next up, we will configure Custom Attribute Mapping. Scroll down the page until you find the Custom Attribute Mapping section, then click on the Add Row button 3 times. We will add 3 custom mappings to this section that will be passed to the Splunk Enterprise server after authentication is successful. Enter the following values into the wizard:
| Name | Format | Value |
|---|---|---|
| role | Basic | splunk_admin |
| Basic | ${user.email} | |
| fullname | Basic | ${user.firstName} ${user.lastName} |

Click the Next button to move on to the Access Policies portion of the wizard. You can leave the settings at their defaults and click Next again to move to the Summary portion of the wizard. Click Save and Assign to save the configuration of the Web App and assign users who will utilize the application. Select the VMware Identity Manager users that you would like to assign the Splunk Enterprise admin role to, then click Save. The Web App is now ready for use.

Clone the Web App for the Second Splunk Enterprise User Role
To create the additional Web App that will assign the “splunk_user” role, click the check box next to the “Splunk - Administrator” Web App that we just created. Next, click on the More button at the top of the page and choose Copy to create an exact copy of the Web App. Change the Name field to “Splunk - User” then click the Next button to move on to the Configuration step of the wizard.

On the Configuration section of the wizard, scroll down the page to the Application Parameters section and click on the Advanced Properties link to expose additional advanced property fields. Continue scrolling down to the Custom Attribute Mapping section, then change the Value of the “role” attribute from “splunk_admin” to “splunk_user”.

Click the Next button again to move on to the Access Policies portion of the wizard. Leave the default settings, and click the Next button again to move to the Summary section of the wizard. Click the Save and Assign button to save the application and to open the user assignment dialog. Select the VMware Identity Manager users or groups whom you’d like to assign the Splunk Enterprise “user” role, then click Save.
Finishing Up
Your users should now be able to access Splunk by authenticating with VMware Identity Manager. Depending on which VMware Identity Manager Web App the user was assigned, they will either have the Splunk Enterprise “admin or “user” role permissions.
Try It Out Yourself
If you assigned one of the Splunk Web Apps to the user you are currently using to configure VMware Identity Manager, go ahead and test it out by browsing to your Splunk server. If everything is configured correctly, it should automatically log you into Splunk Enterprise. In a future post, I will go over the process to use vSphere SSO as a SAML IdP for Splunk Enterprise.


See Also
- Configure Splunk to Use a vCenter/PSC as a SAML IdP -
- Configure NetApp ONTAP System Manager to Use VMware Identity Manager as a SAML IdP -
- VMSA-2022-0014: Workspace ONE Access and Identity Manager Critical Vulnerability -
- Monitoring VMware Identity Manager with VMware vRealize Operations -
- VMSA-2021-0028 - VMware's Response to Apache Log4j Remote Code Execution Vulnerability (CVE-2021-44228) -
Search
Get Notified of Future Posts
Follow Me


Recent Posts