Upgrading to VMware vCenter Server 8.0
VMware announced the initial availability (IA) of VMware vSphere 8.0 on October 11, 2022. This new status of “initial availability” follows the new release model that VMware is utilizing for all future vSphere releases. This new release of vSphere is packed with many new features as well as many deprecated features. For a quick overview of what’s new in this release, view the VMware Blog post: Announcing: vSphere 8 Initial Availability.
If you’re like me, it has been quite some time since I’ve needed to upgrade a VMware vCenter Server instance to a new major release. Fortunately, the upgrade process for VMware vCenter Server 8.0 is similar to the method used in previous releases. In this post, I will provide a walkthrough of that upgrade process for those individuals who have never upgraded a VMware vCenter Server instance and those who need a quick brush-up on the process.
Upgrade Process at a High Level
The workflow for upgrading a VMware vCenter Server instance to VMware vCenter Server 8.0 follows the following high-level process:
- Deploy a new VMware vCenter Server 8.0 virtual appliance.
- Assign a temporary IP address to the new VMware vCenter Server 8.0 virtual appliance.
- Bundle up and export all data from the source VMware vCenter Server appliance.
- Copy data to the new VMware vCenter Server 8.0 appliance.
- Power down the source VMware vCenter Server appliance.
- Assign the previous VMware vCenter Server appliance IP address to the new VMware vCenter 8.0 appliance.
- Import all data into the new VMware vCenter Server 8.0 appliance.
- Configure and start all services on the new VMware vCneter Server 8.0 Appliance.
Walking Through the Upgrade Process
Now that we’ve reviewed the high-level process let’s go through the upgrade step by step. The upgrade process consists of two stages:
- Deploying a new VMware vCenter Server 8.0 virtual appliance.
- Migration of existing data and setting up all VMware vCenter Server 8.0 appliance services.
Stage 1 – Deploying the New VMware vCenter Server 8.0 Virtual Appliance
The first step in upgrading to VMware vCenter Server 8.0 is to mount the VMware vCenter Server 8.0 ISO file and launch the installer. You will need to complete this account from a computer with access to your source VMware vCenter Server appliance and the hosts/vCenter server where you will be deploying the VMware vCenter Server 8.0 appliance. Once you have the ISO mounted, launch the installer that matches your operating system. In my case, I’m working from a Windows-based system
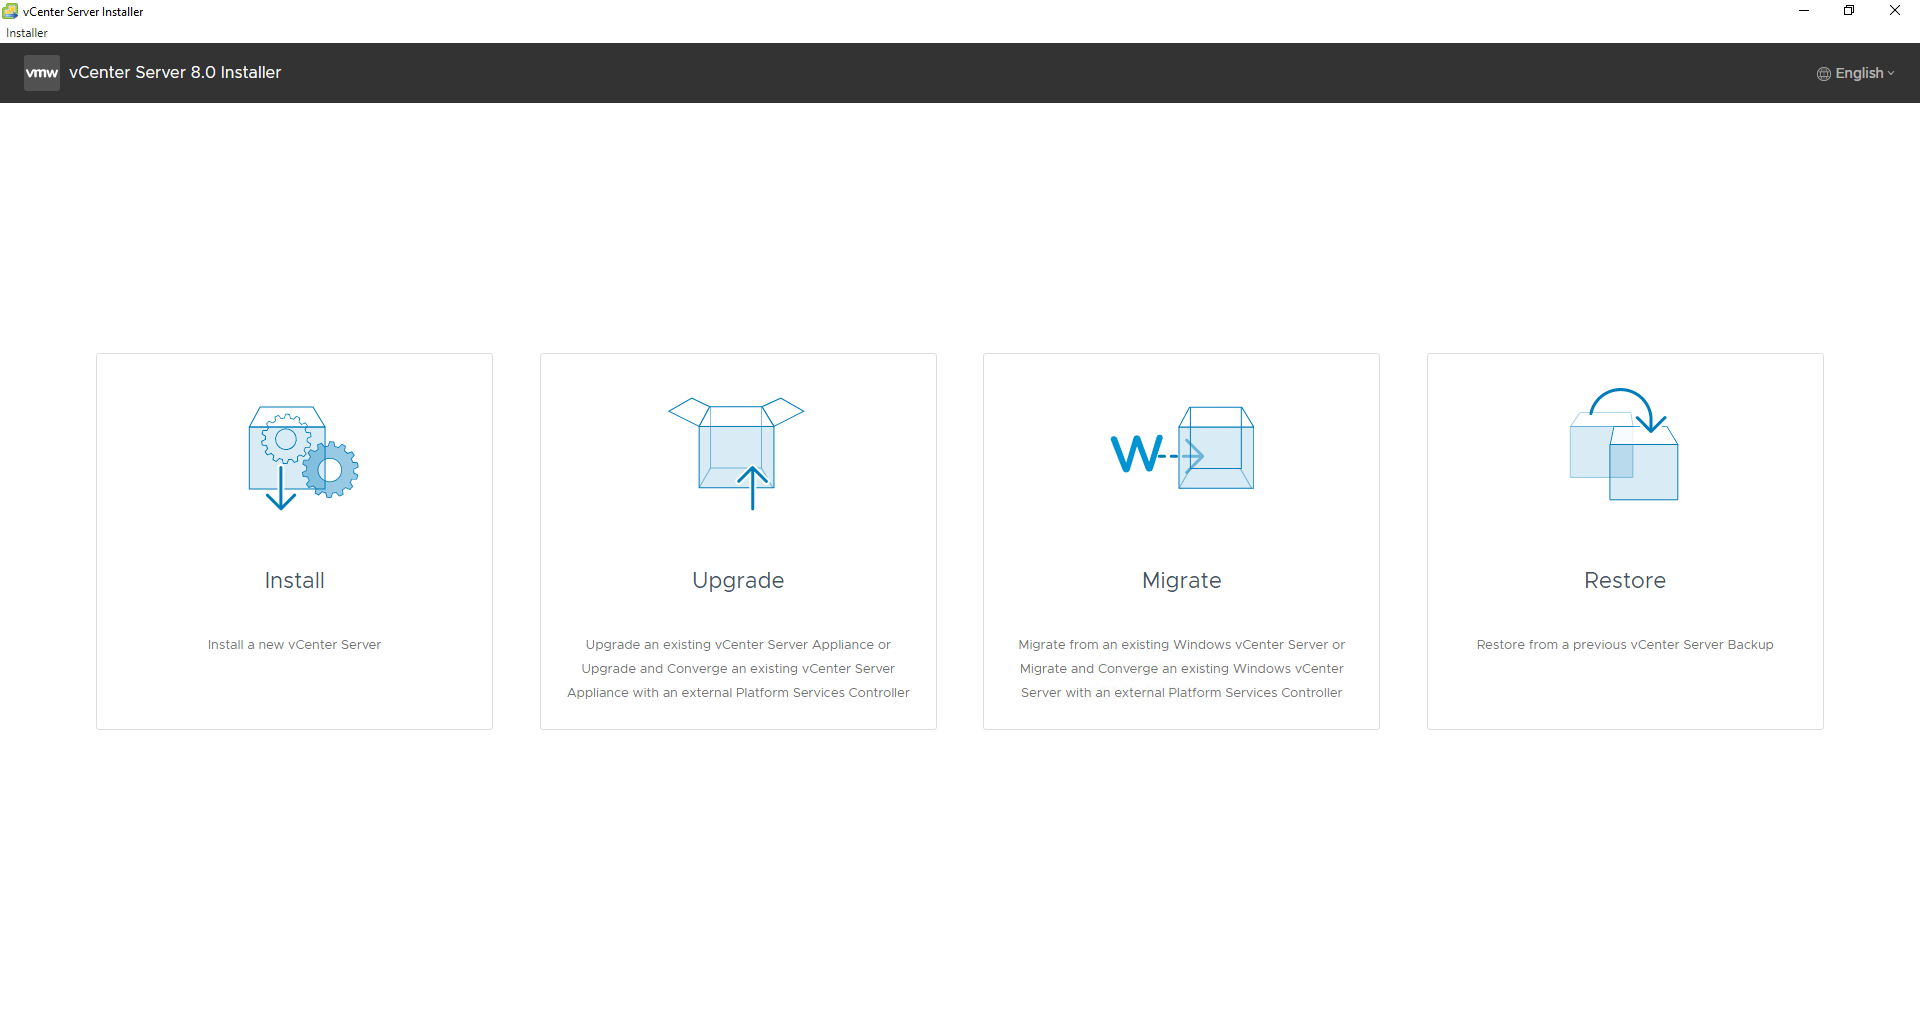
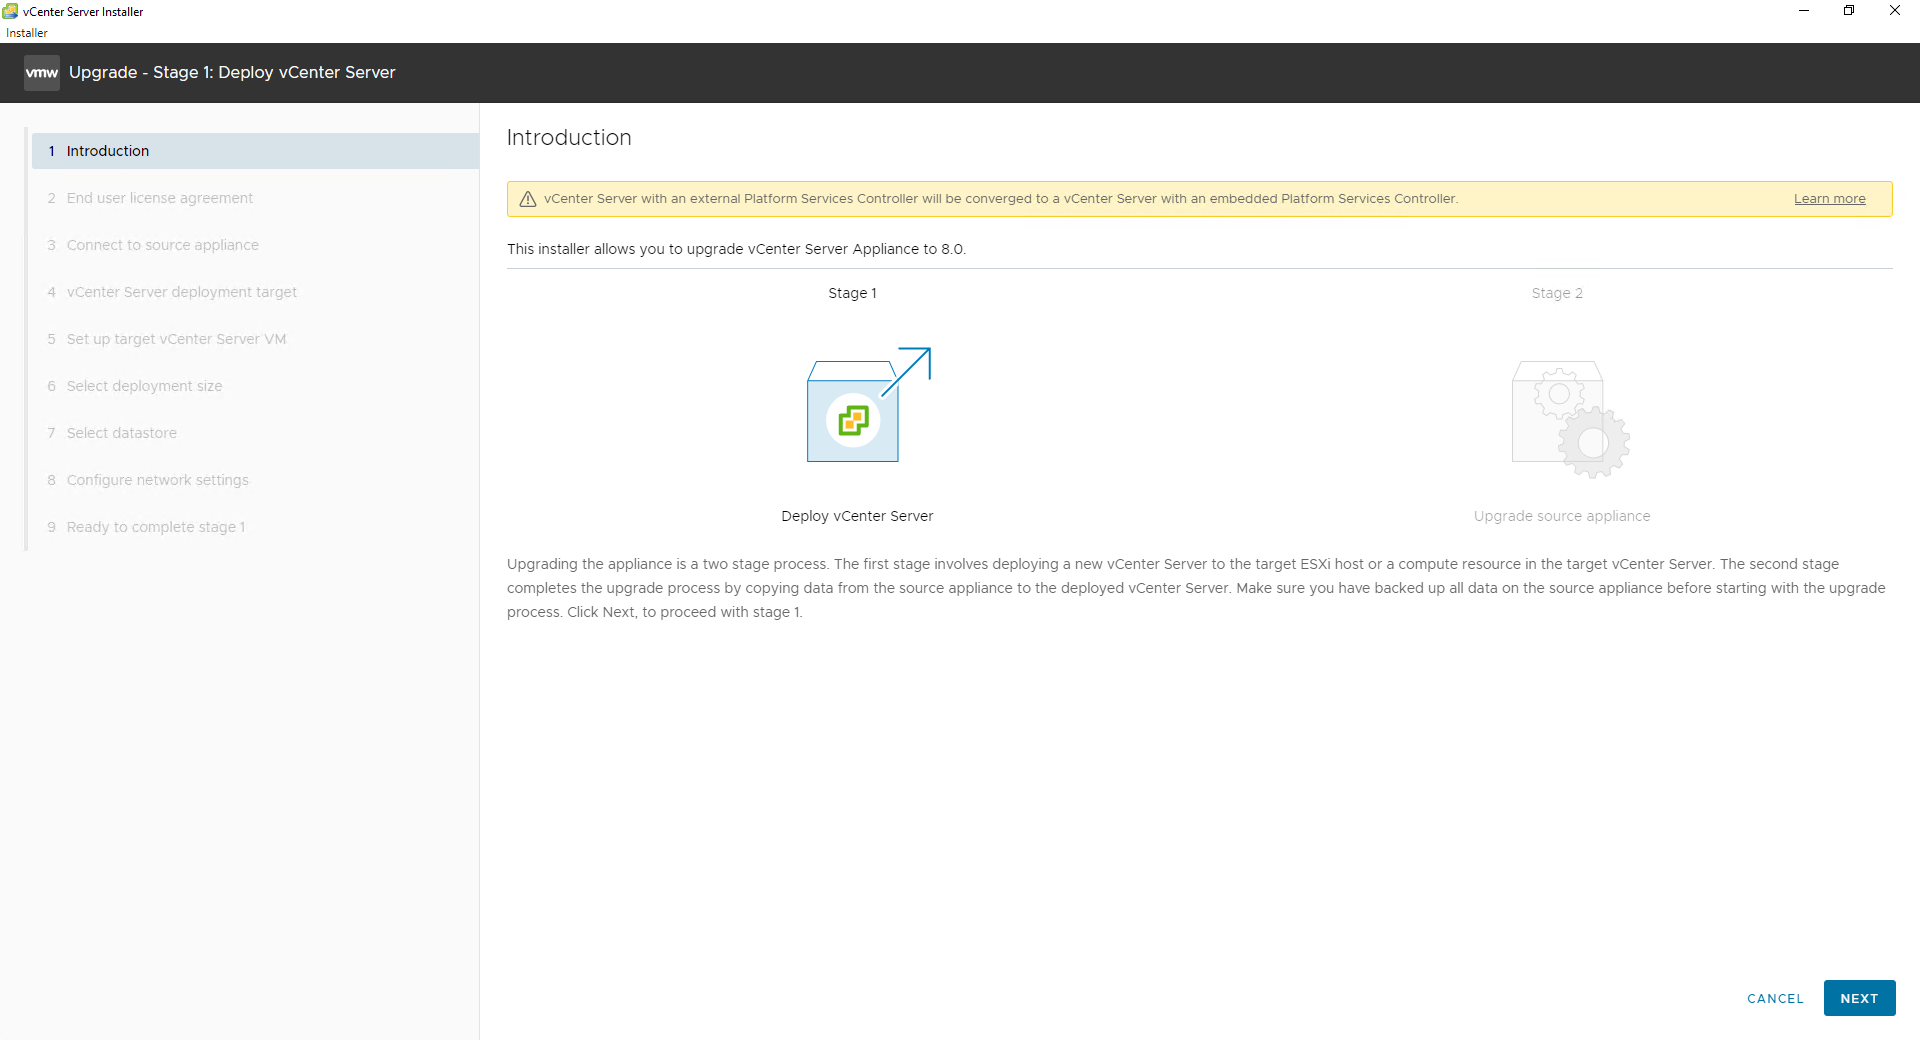
Select the Upgrade option to begin the upgrade process. The installer will present you with the upgrade introduction screen.
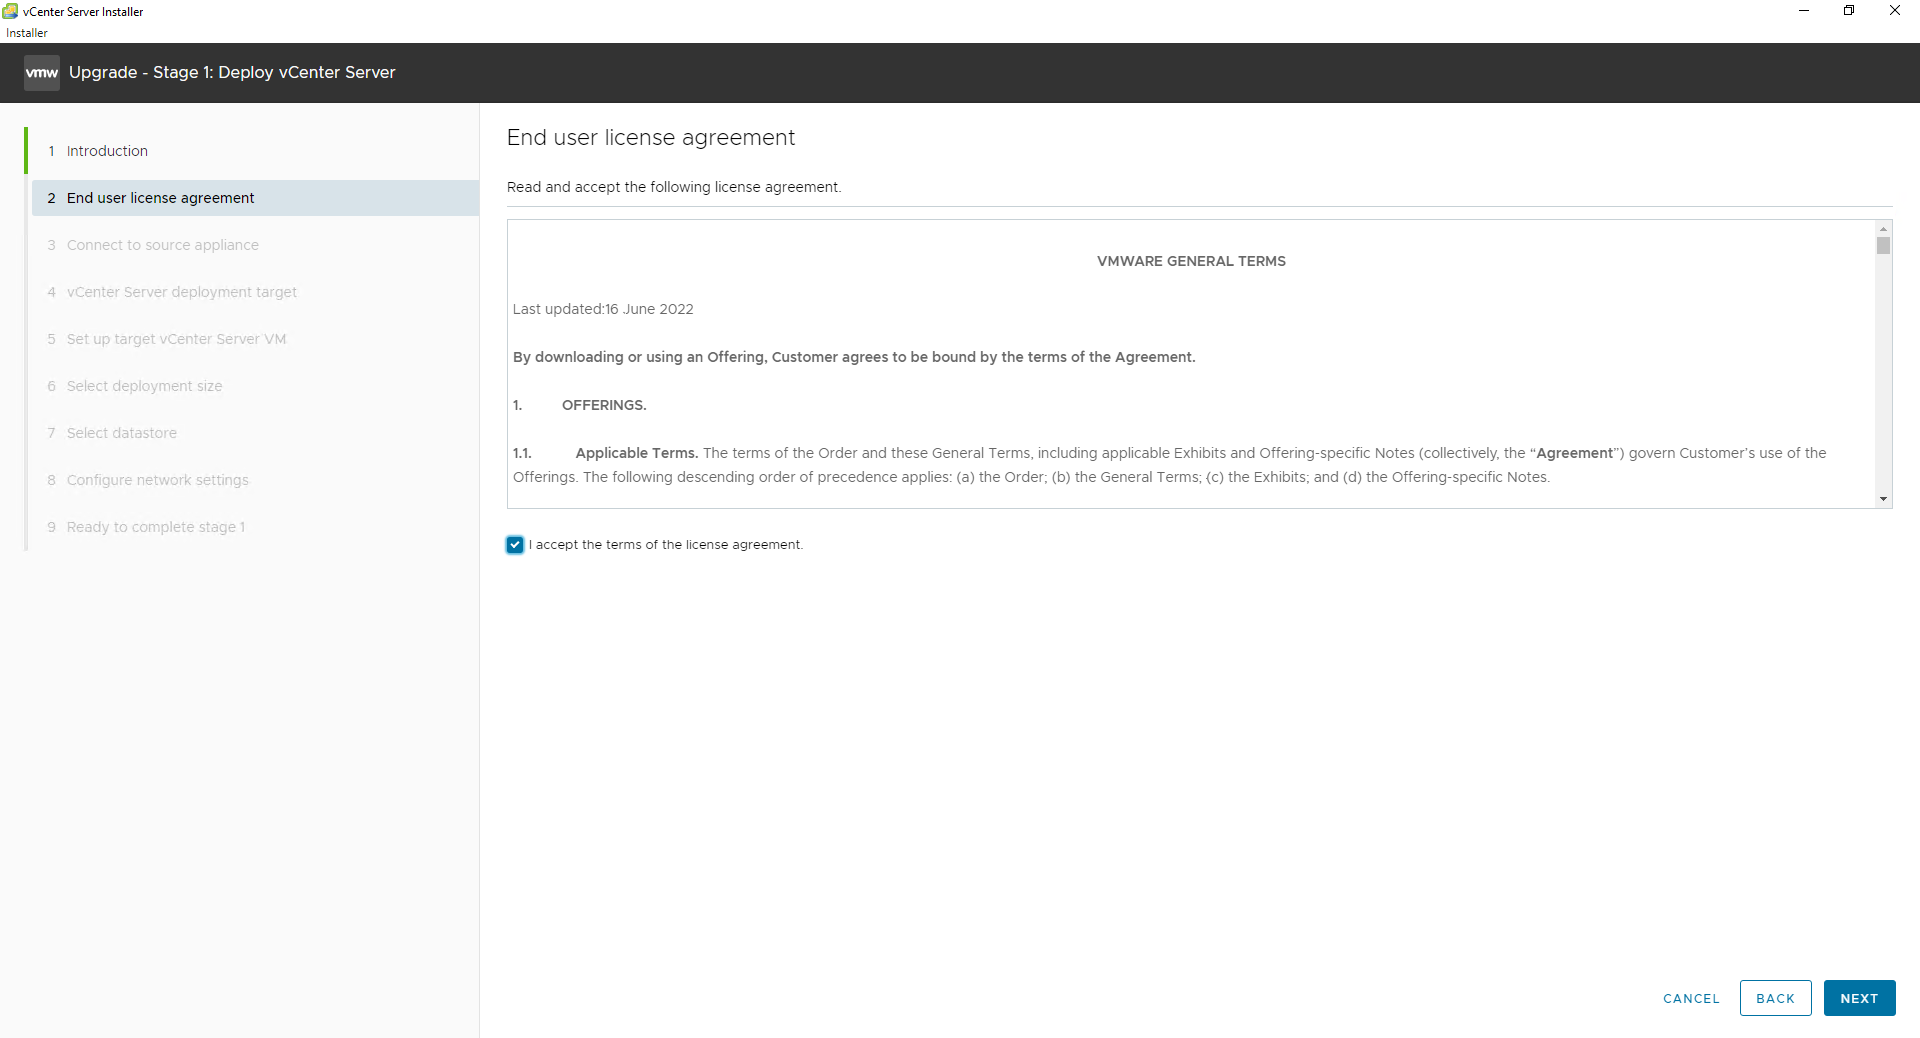
The next step in the process is to accept the license agreement.
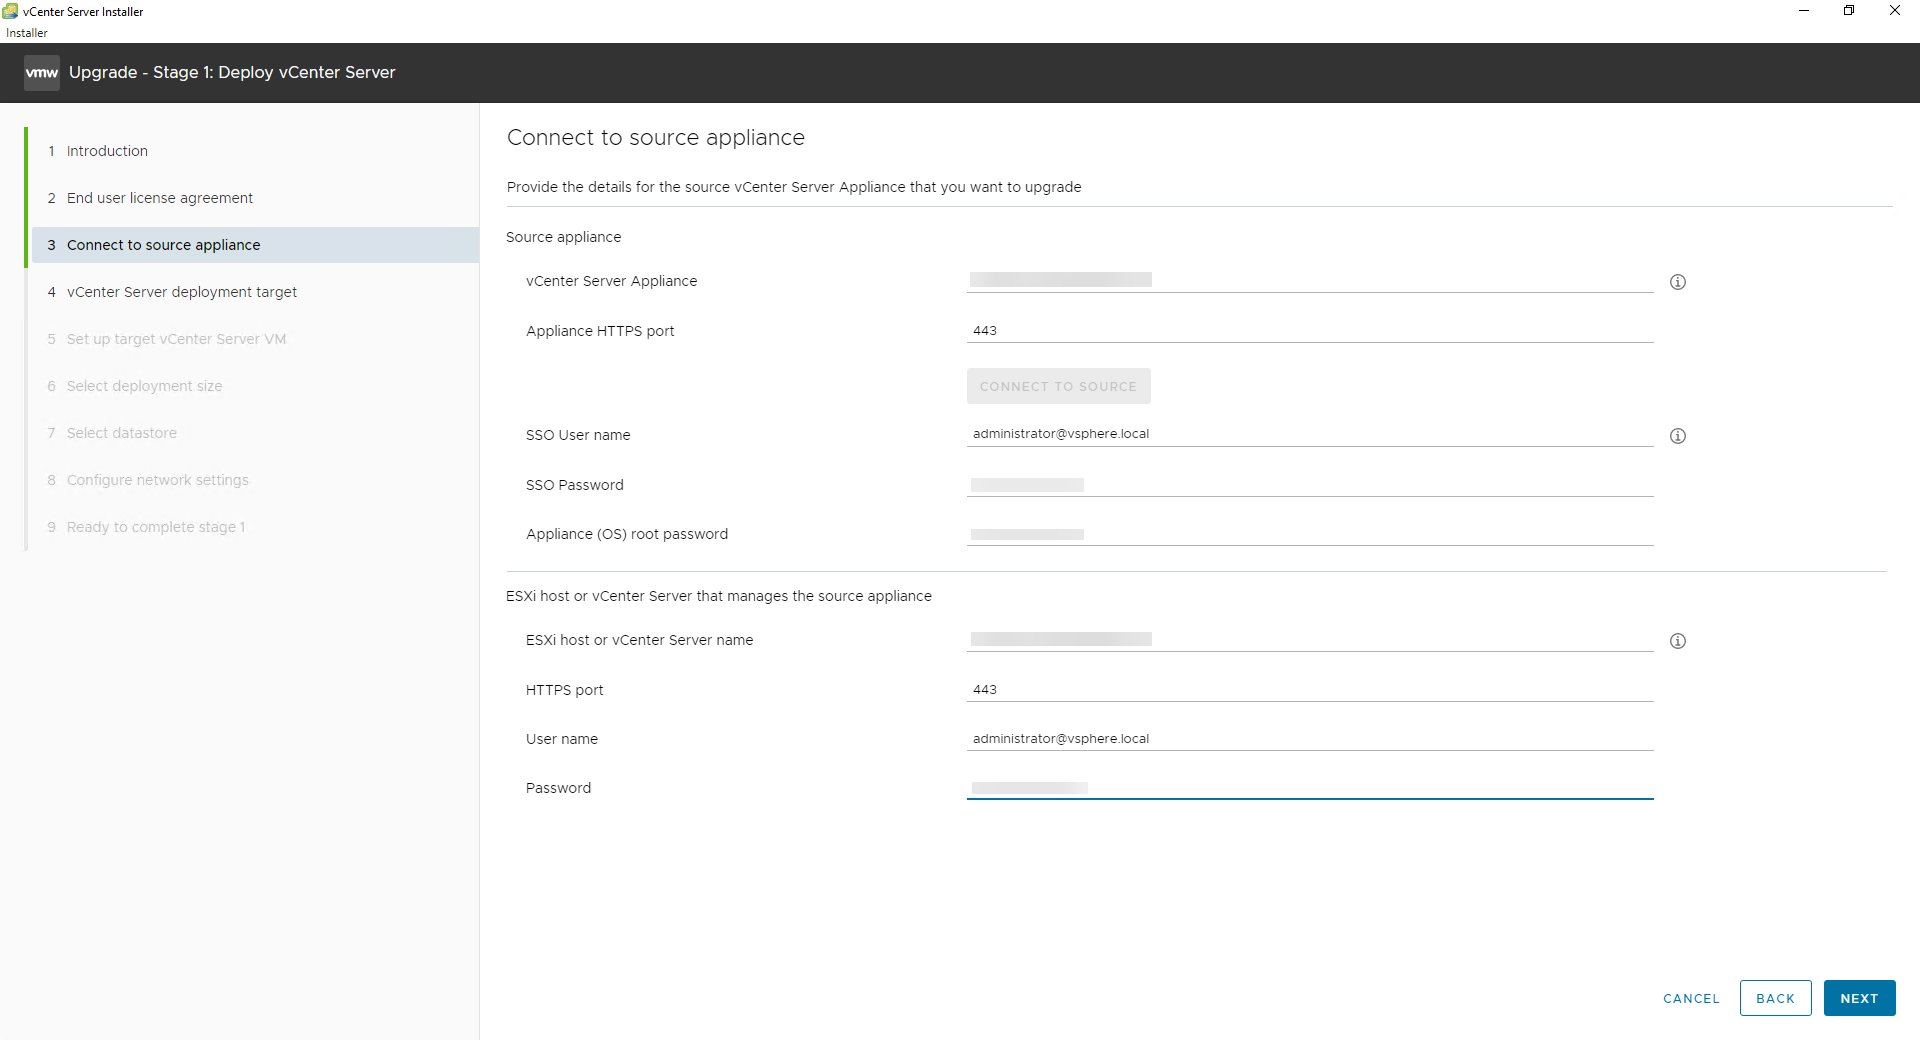
After clicking NEXT, the installer will ask for all the details regarding the source VMware vCenter Server instance. These details include the FQDN, SSO administrator account, root account password, the FQDN of the vCenter Server/ESXi host that manages the appliance, and the login credentials for the managing vCenter Server/ESXi host.
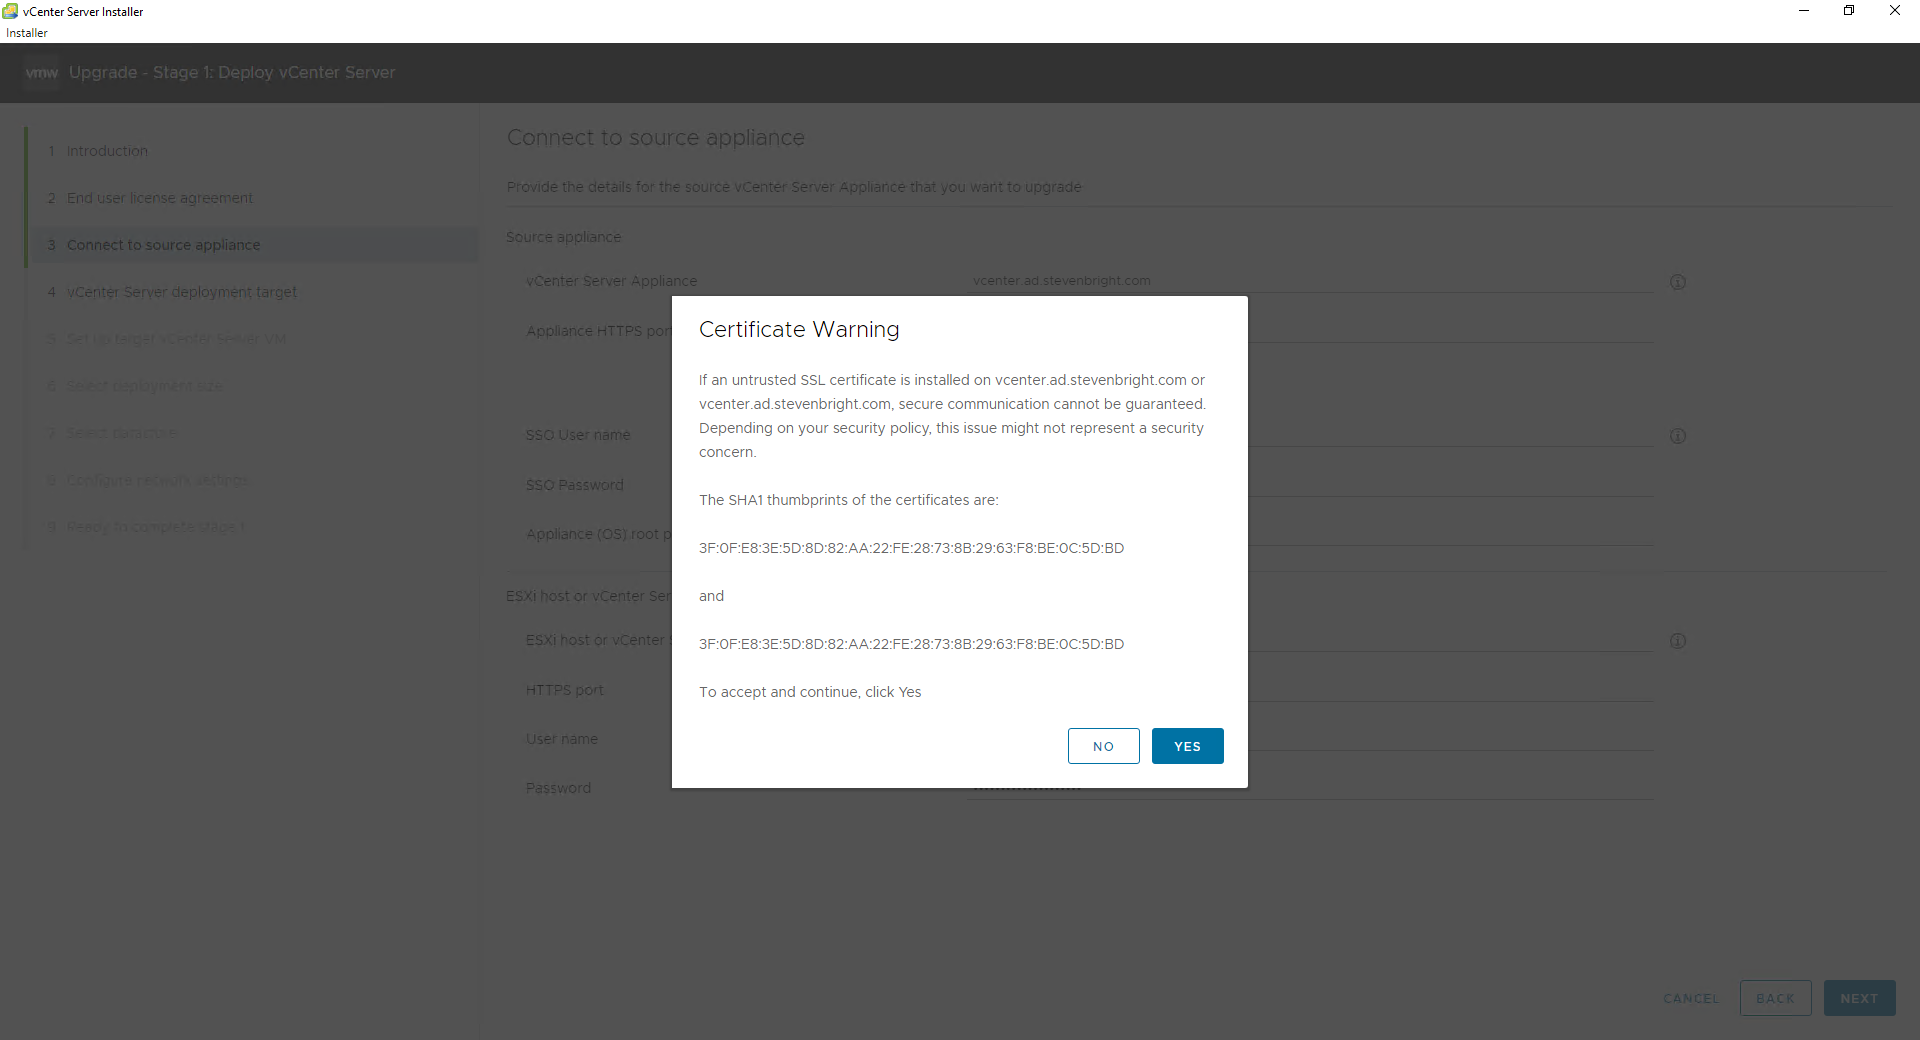
After you click NEXT, the installer will request that you confirm the thumbprint of the source vCenter Server instance and the vCenter Server/ESXi host managing the appliance.
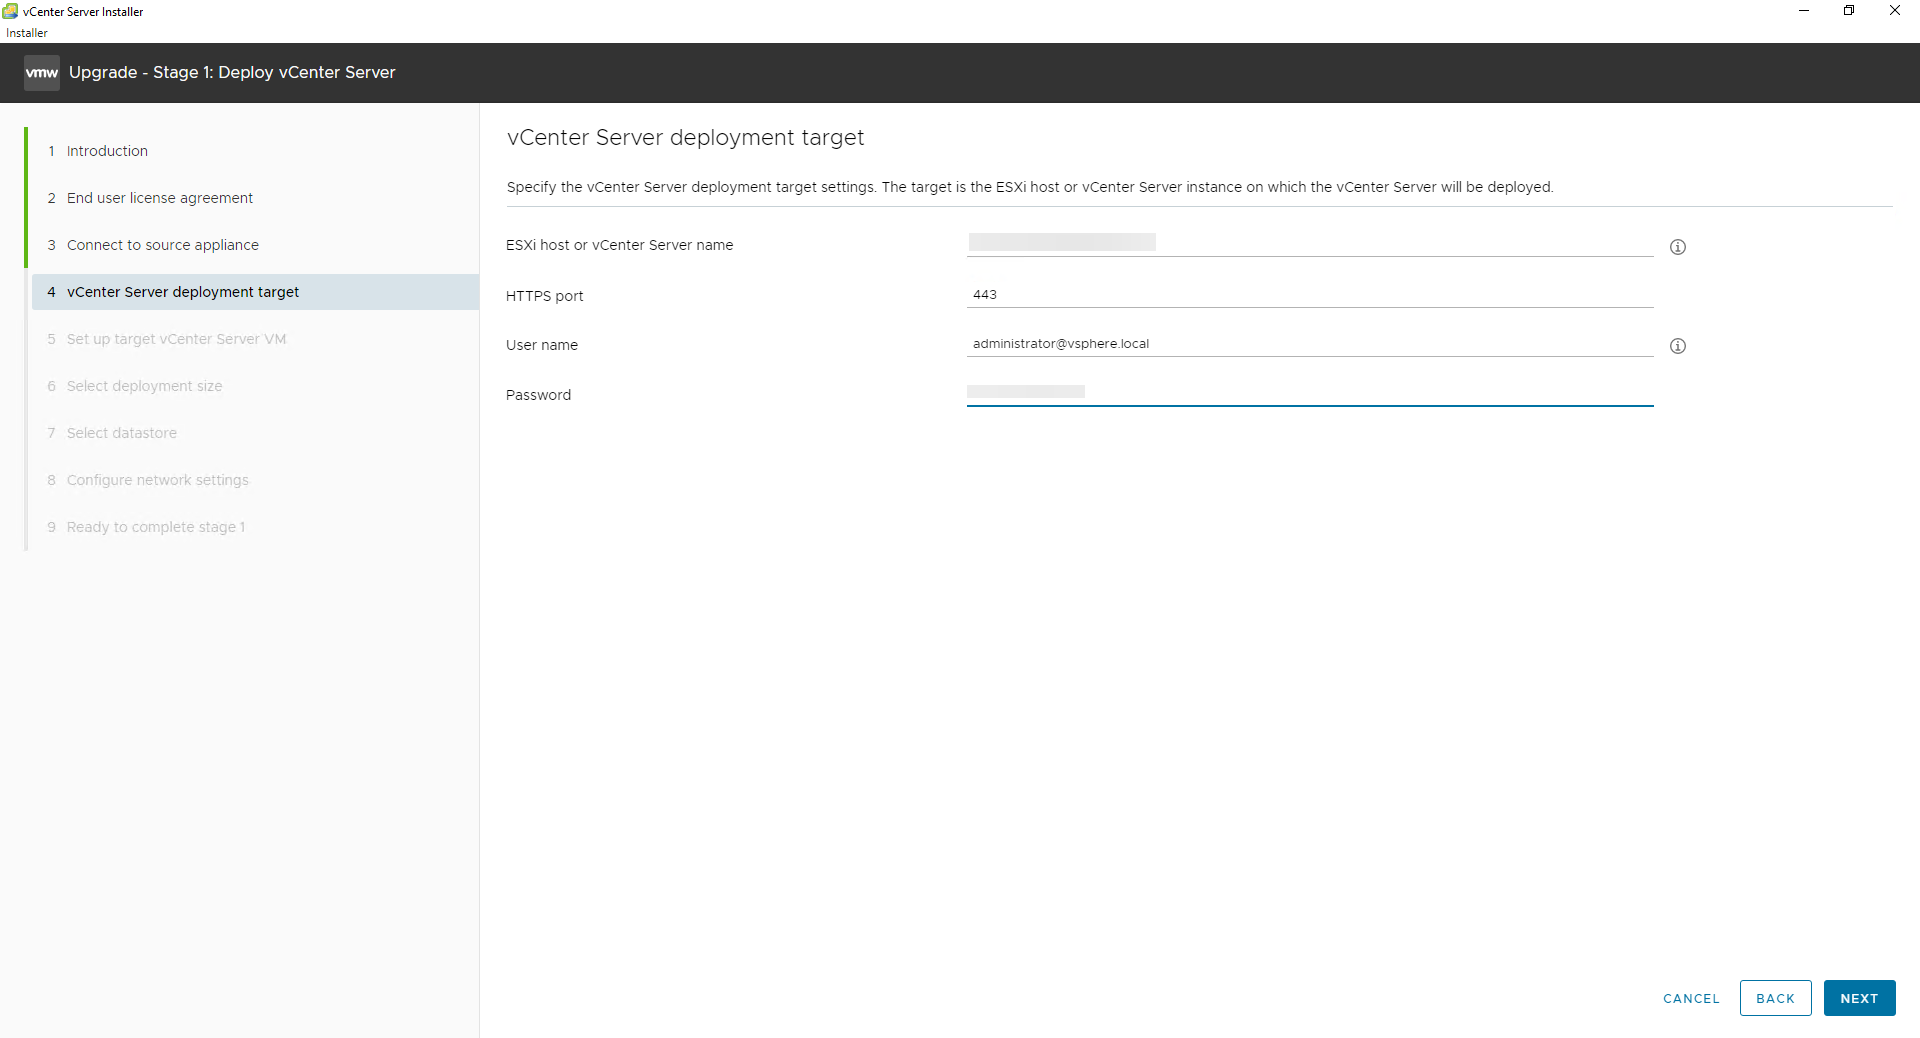
After you confirm the thumbprints, the installer will request that you provide the details for the vCenter Server deployment target. This target will be the vCenter server or ESXi host where the installer will deploy the VMware vCenter Server 8.0 appliance. In my case, I used my source vCenter Server as the target.
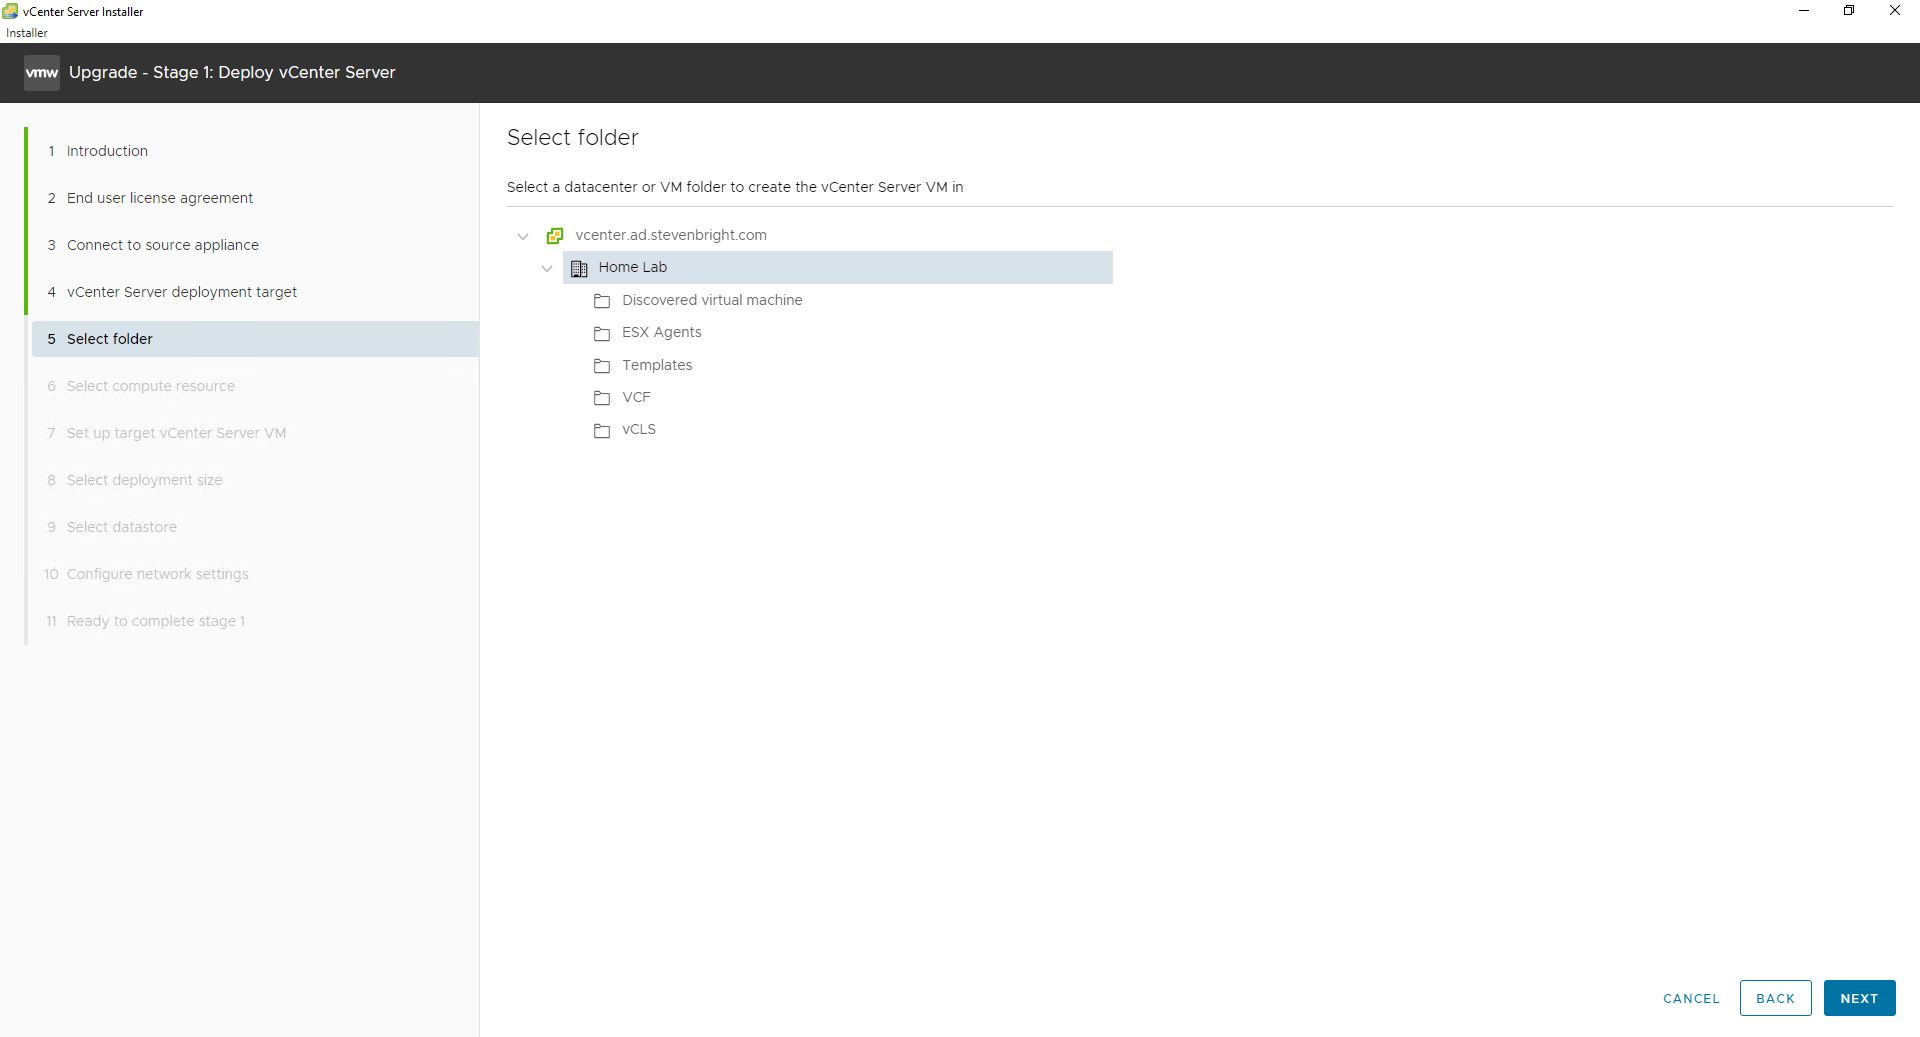
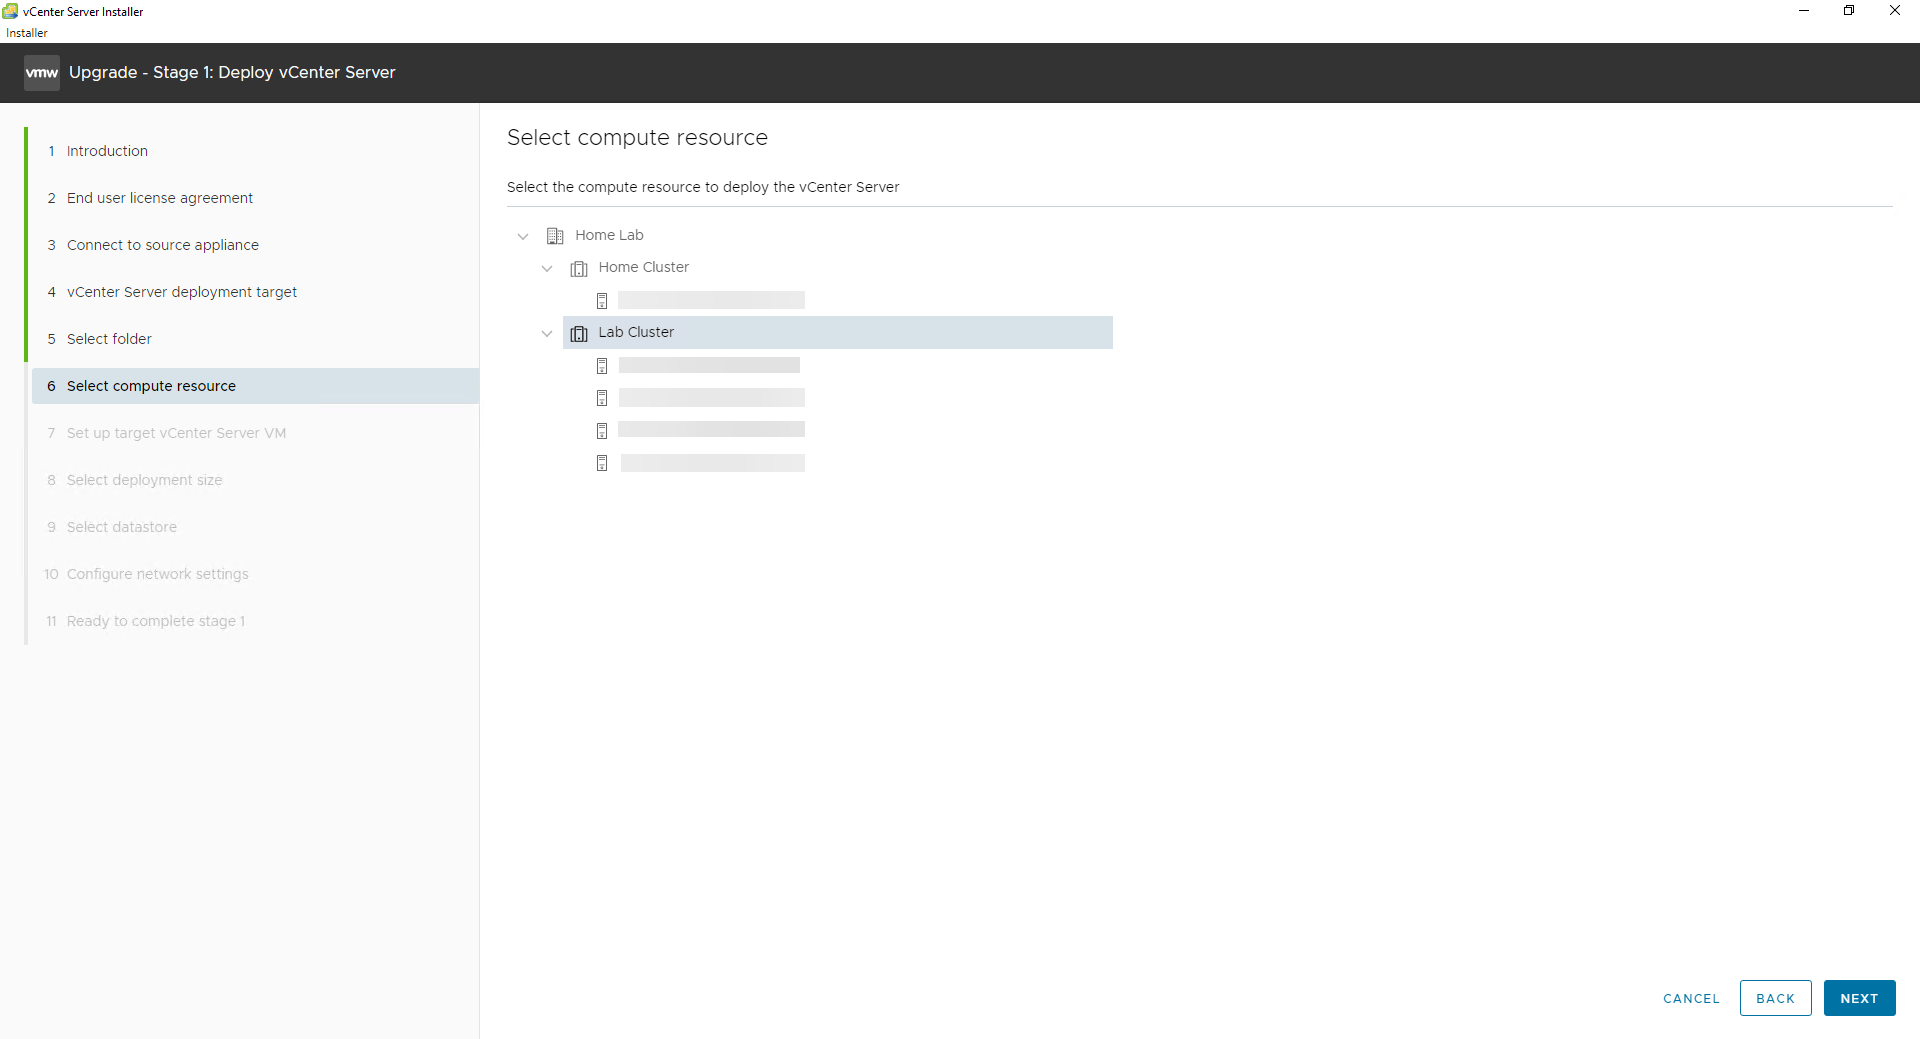
After clicking NEXT, you are again prompted to confirm the thumbprint for the target vCenter Server/ESXi host’s certificate. After confirming the certificate’s thumbprint, you will select the target vCenter Server’s folder and compute resource where the new appliance will be deployed.
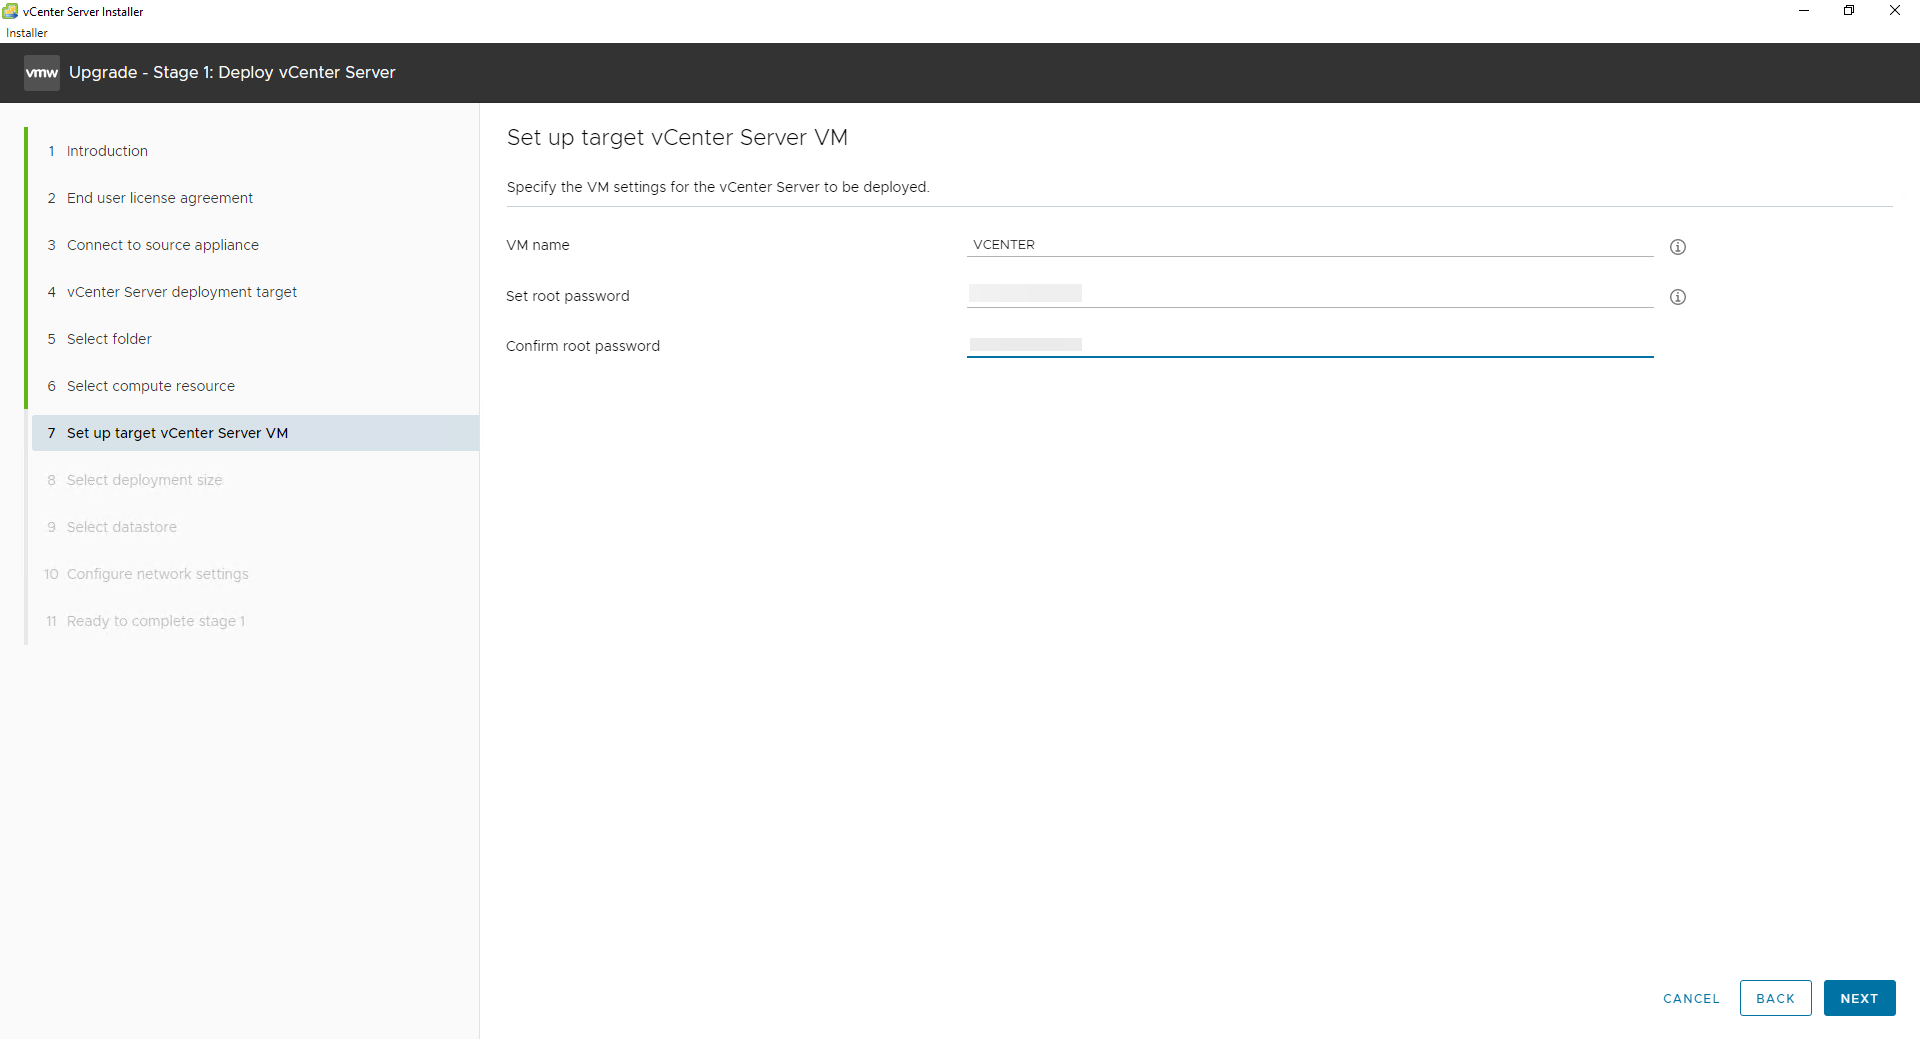
Next up is the new VM’s name and root password. In my case, I want the VMware vCenter Server 8.0 appliance to have the same name as my 7.0 appliance. For this to happen, you will first need to rename your 7.0 virtual appliance to a different name; otherwise, the installer will complain that the name is already in use by another VM.
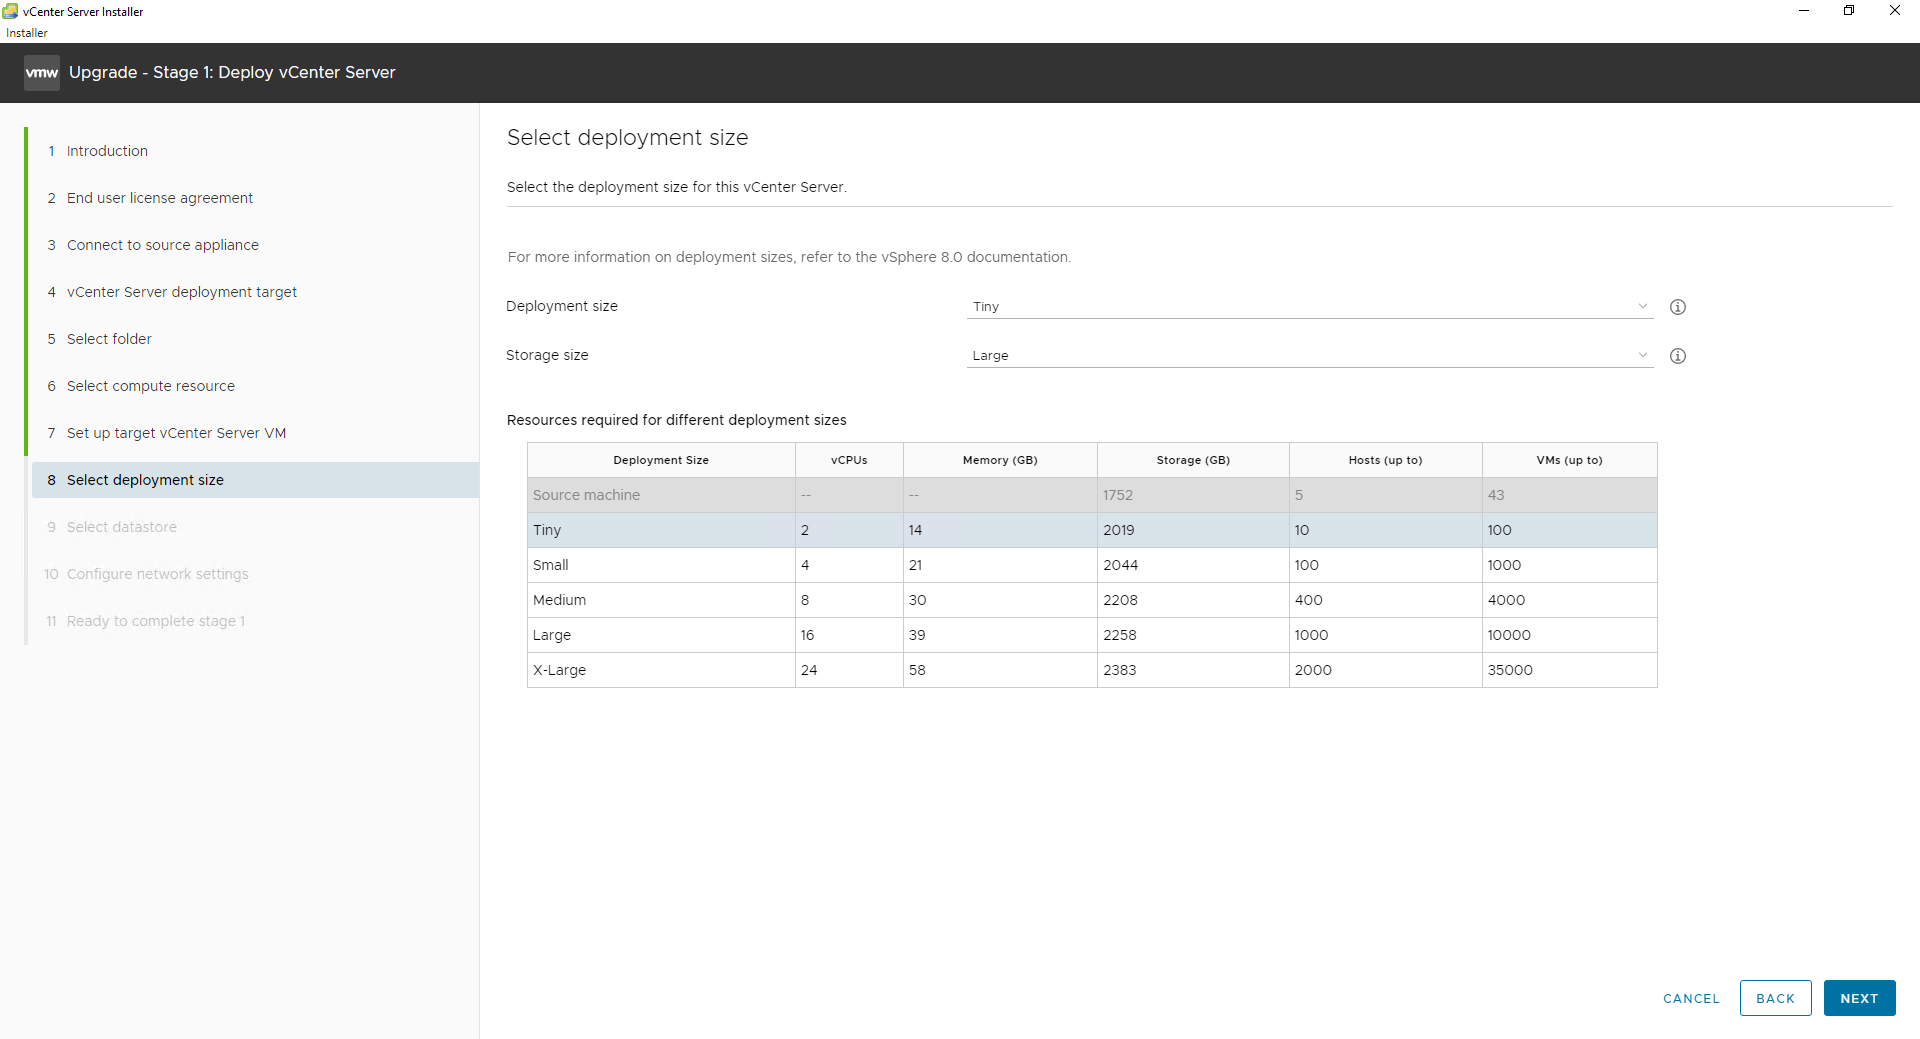
The installer will now request that you specify the deployment size. The installer will default select the smallest deployment size that matches your current configuration. This selection will consider the existing CPU, RAM, and storage allocations. This step is also a great time to ensure that your vCenter Server deployment size matches your current or planned environment.
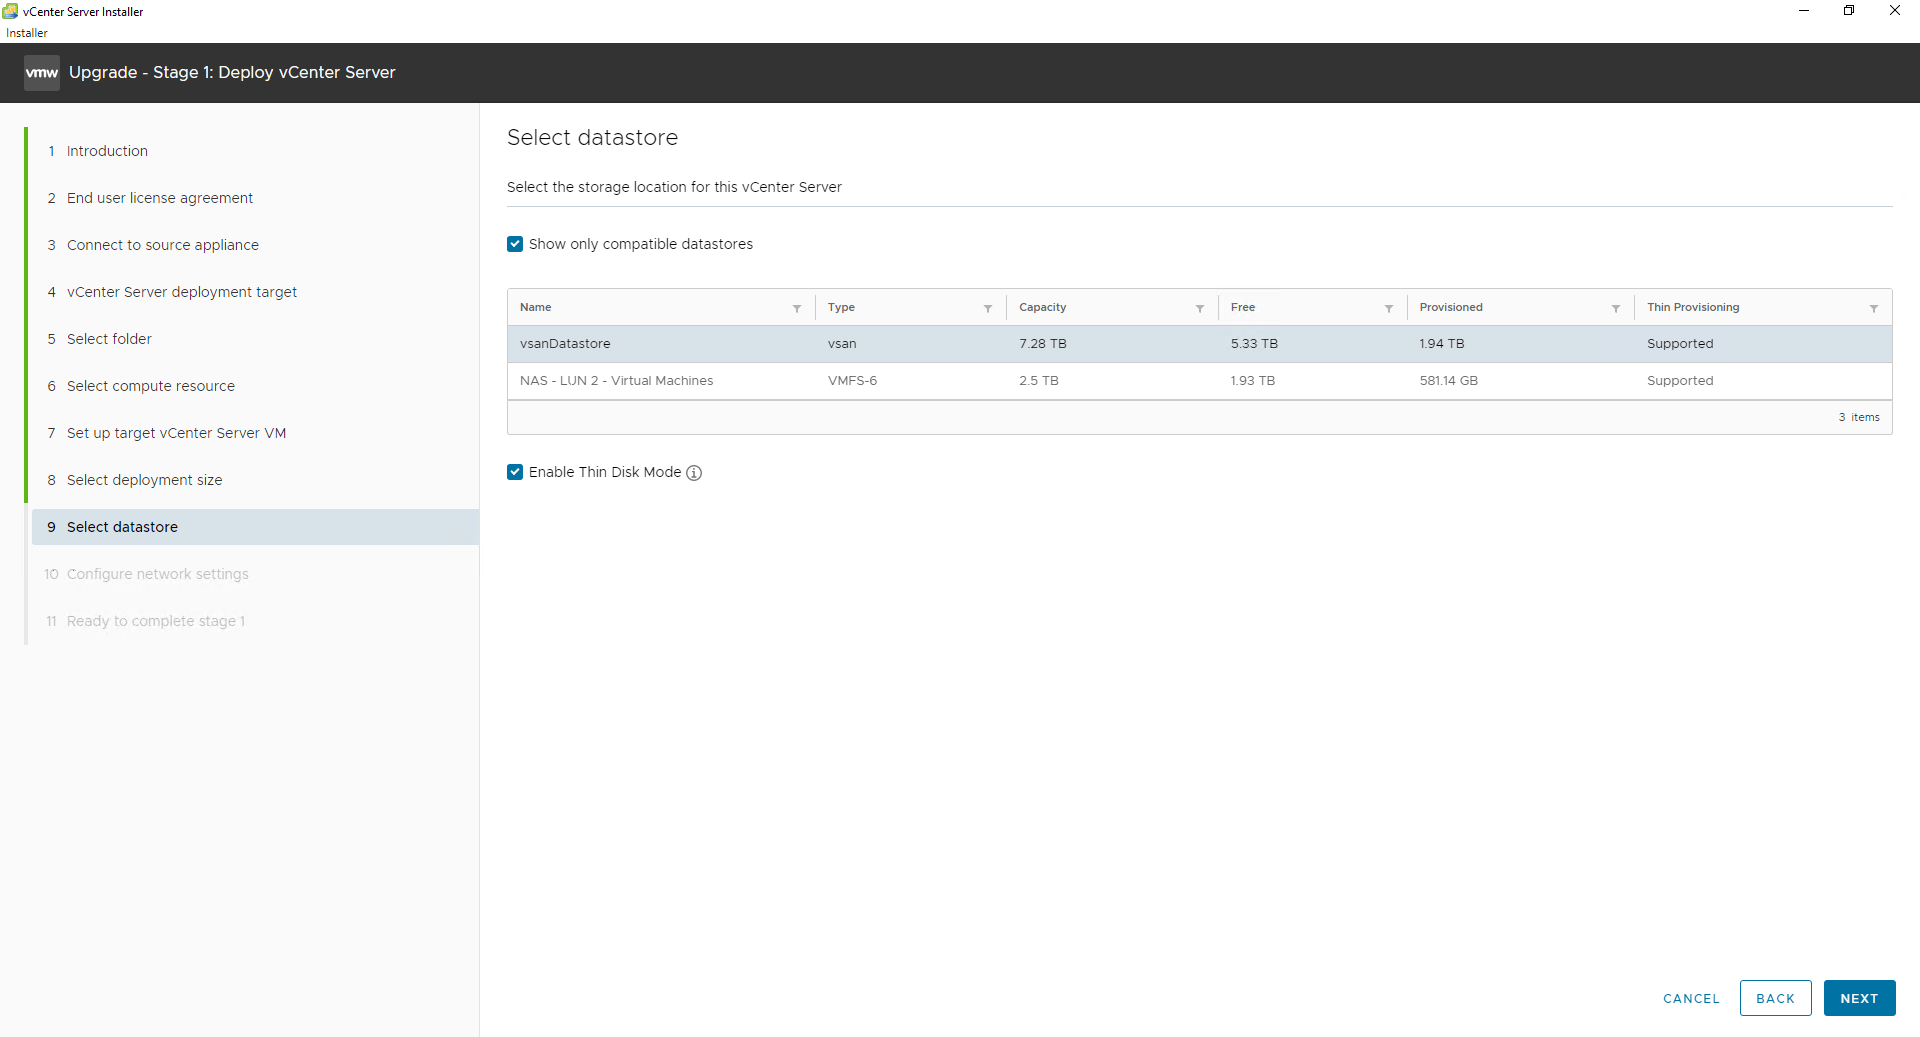
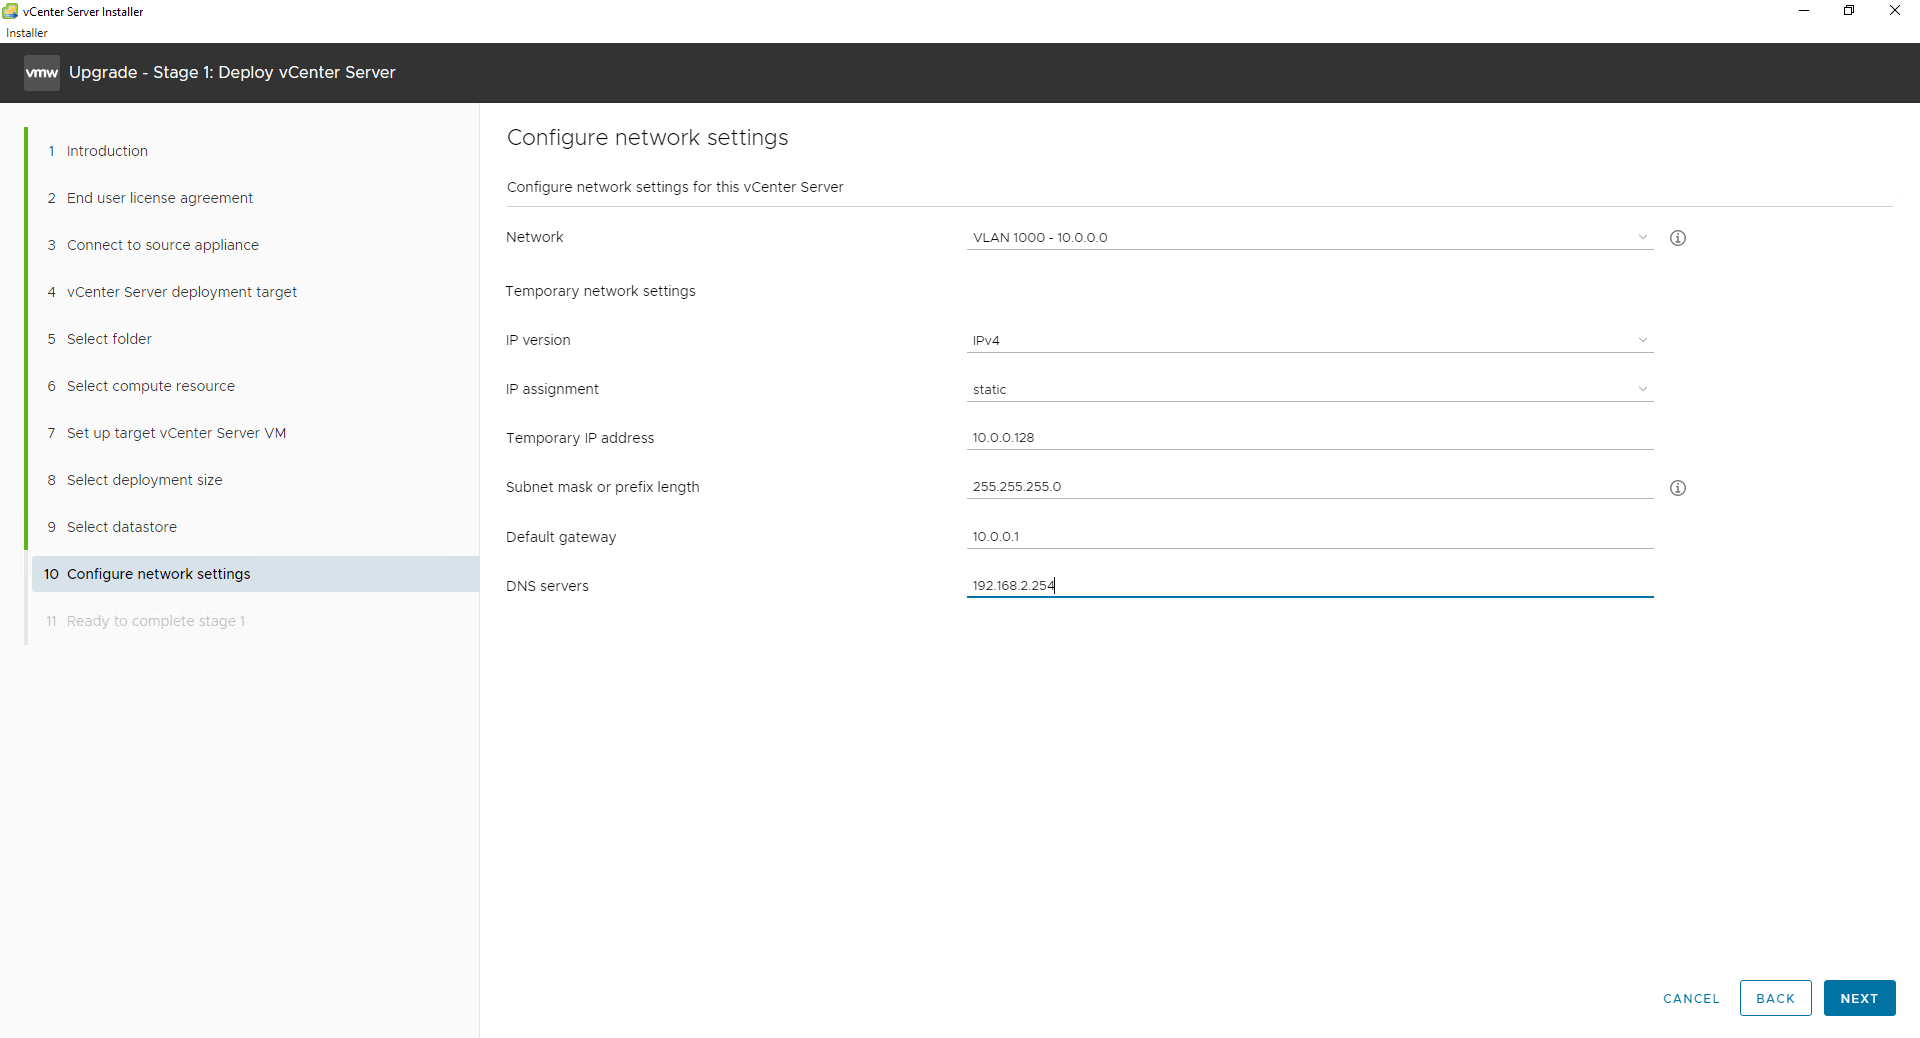
Next is selecting the data store and network for the new virtual appliance.
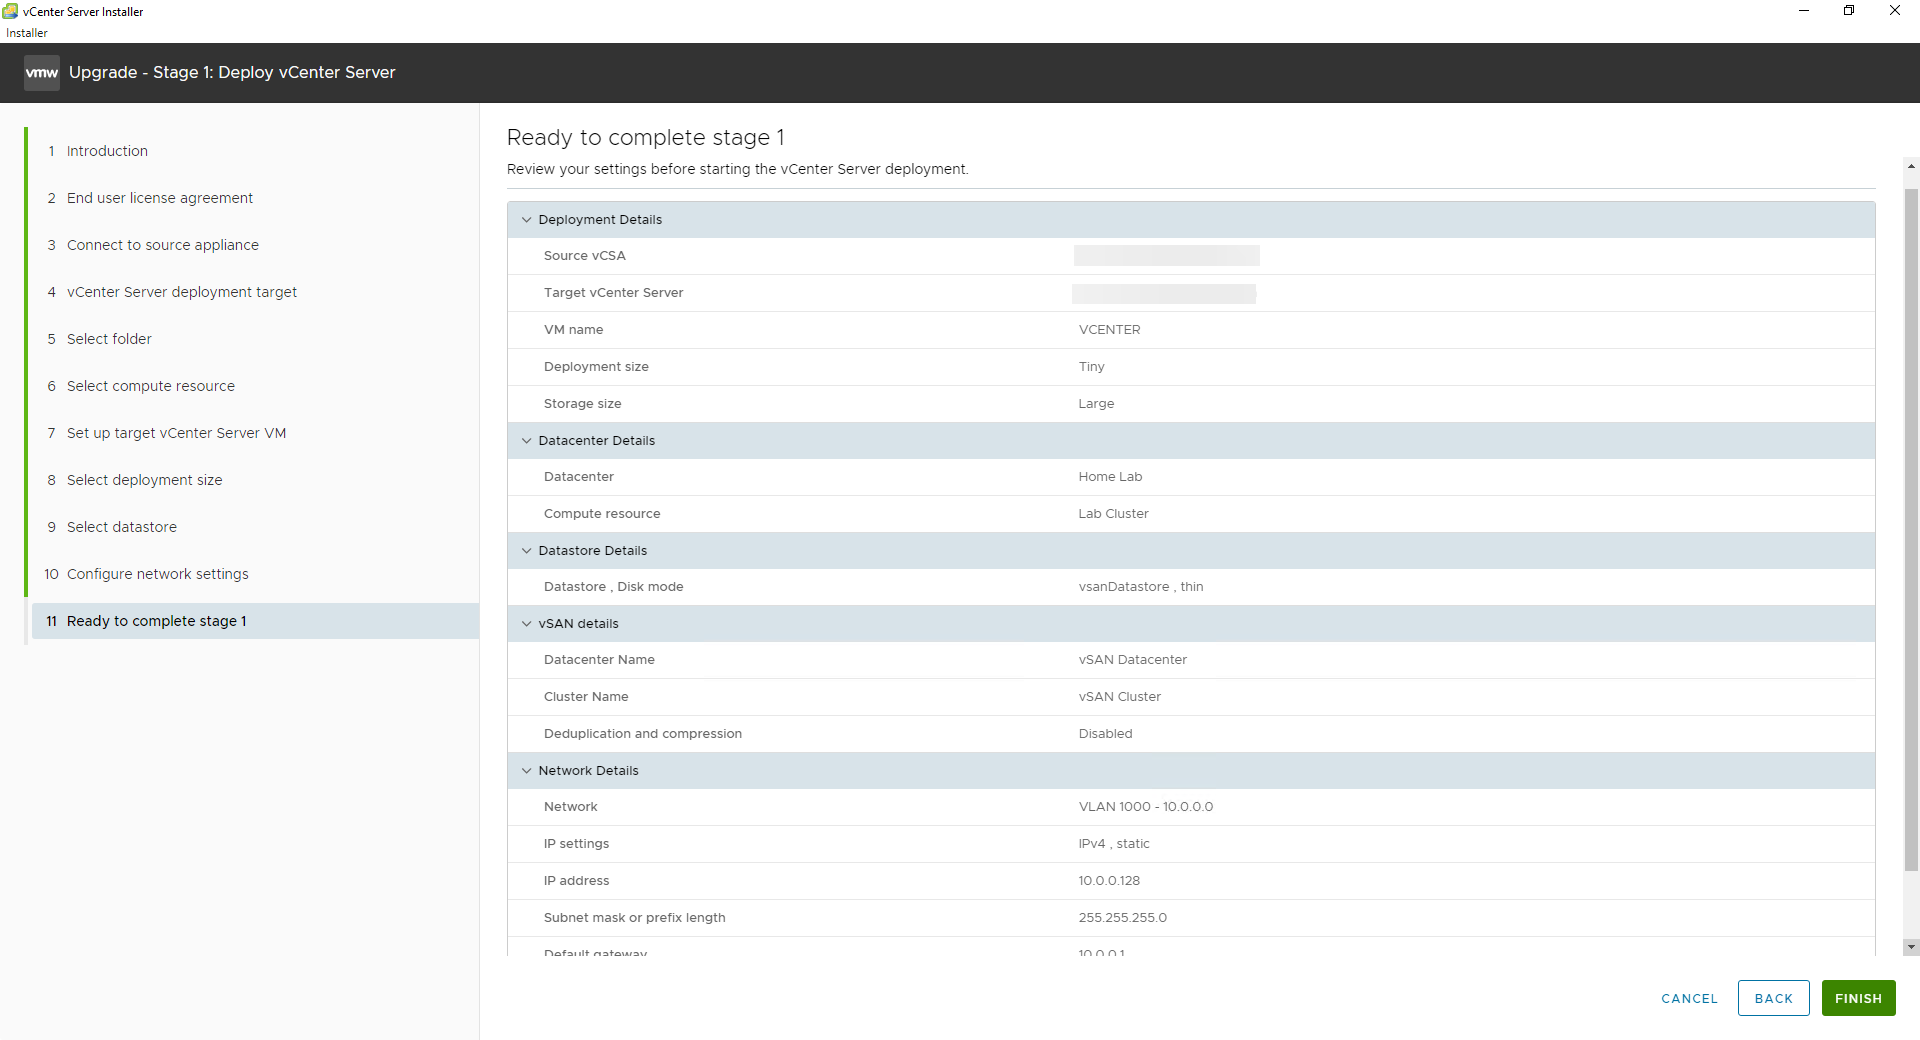
Finally, the installer gives us an overview of the options we selected and the data we provided. Ensure everything looks correct, then click FINISH to begin deployment of the VMware vCenter Server 8.0 appliance.
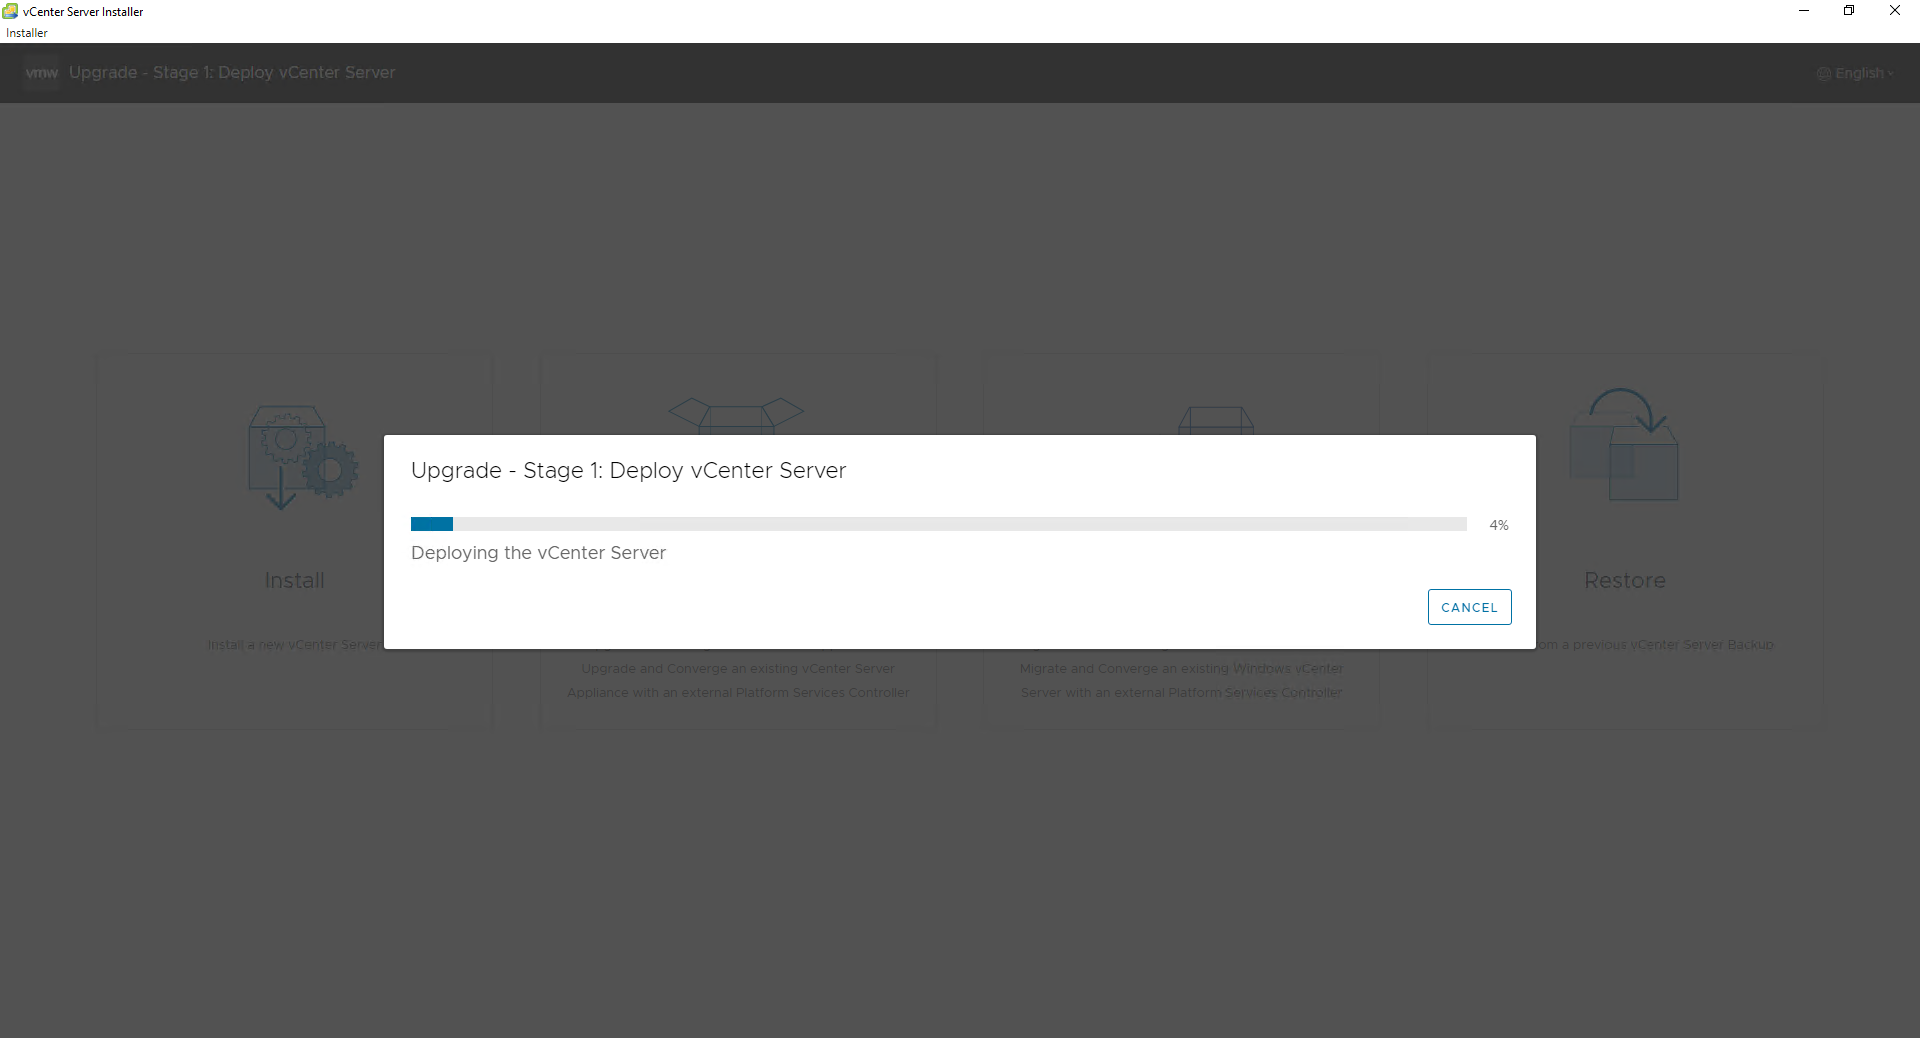
After clicking the FINISH button, the installer provides a progress dialog showing the deployment stages. The various stages of the process include:
- Deploying the new vCenter Server appliance
- Powering on the new vCenter Server appliance
- Waiting for RPM installation to start
- Setting up storage
- Installing various RPMs
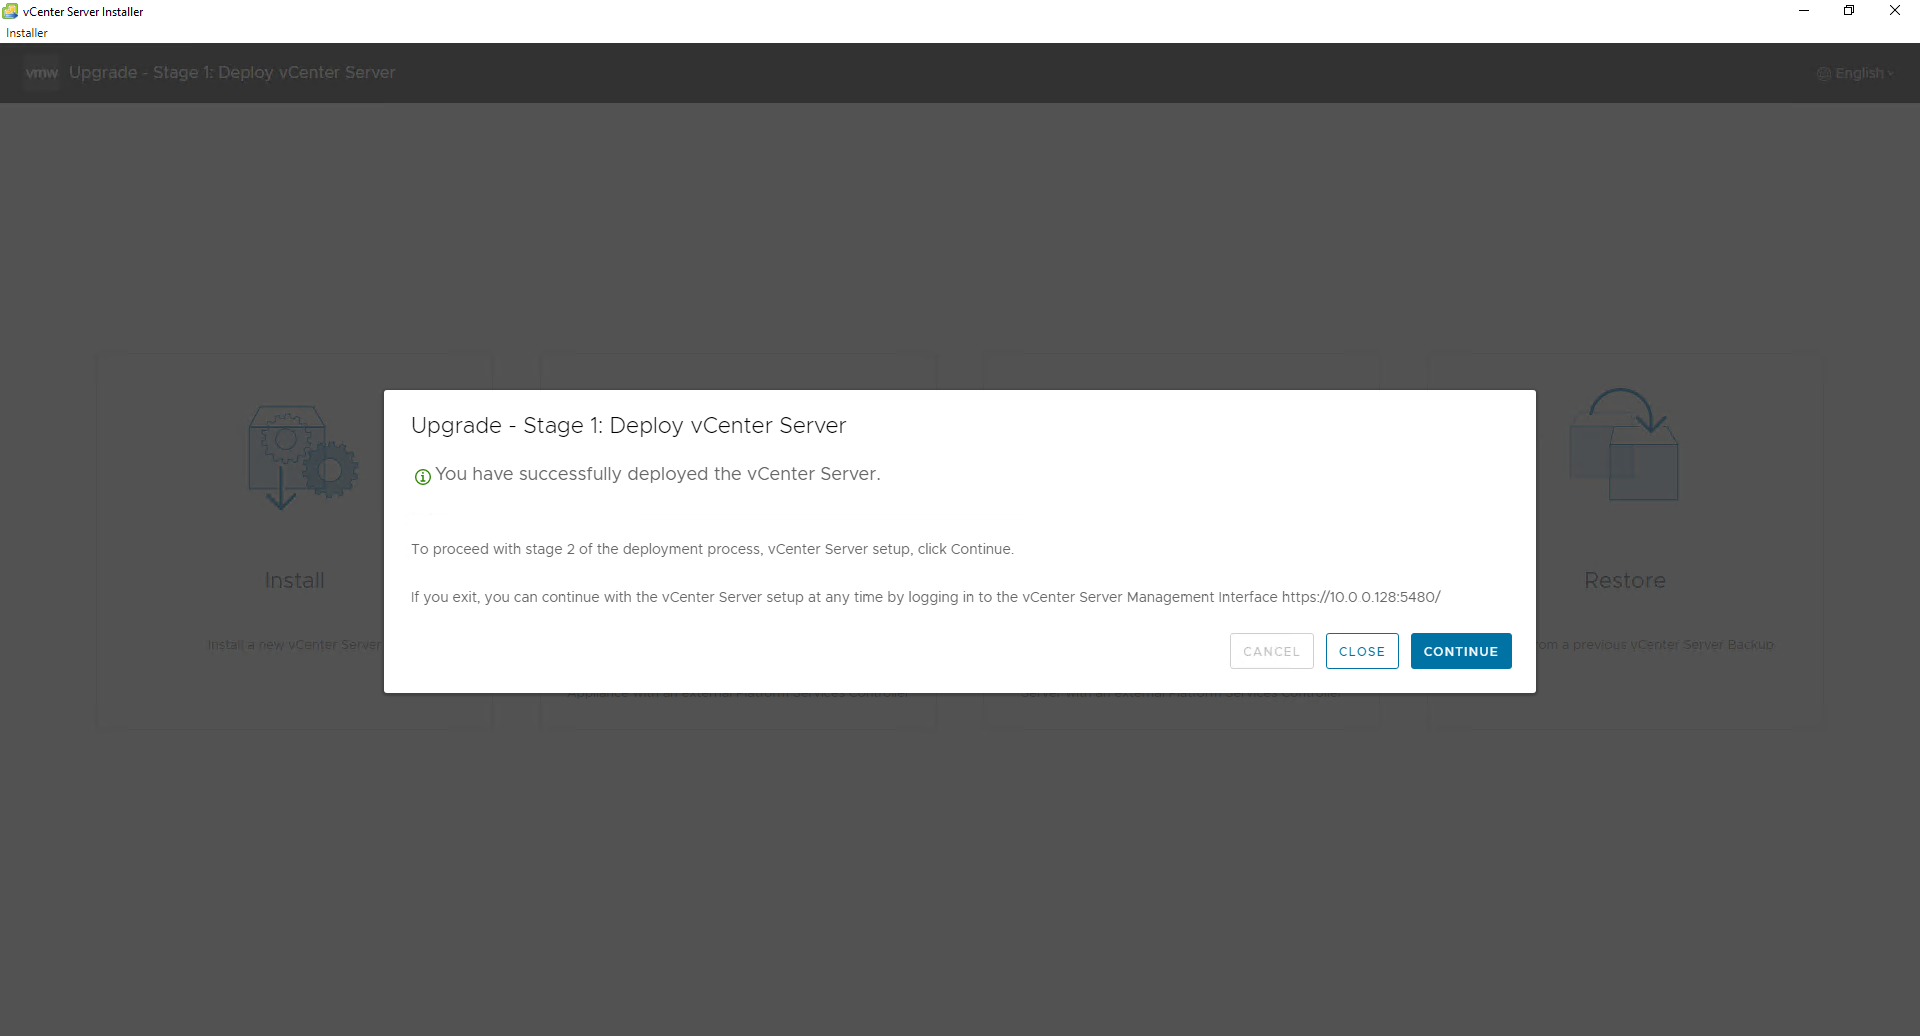
When these steps are complete, the installer provides a confirmation dialog confirming successful deployment and instructions on how to continue with Stage 2 of the upgrade process.
Stage 2 – Deploying the New VMware vCenter Server 8.0 Virtual Appliance
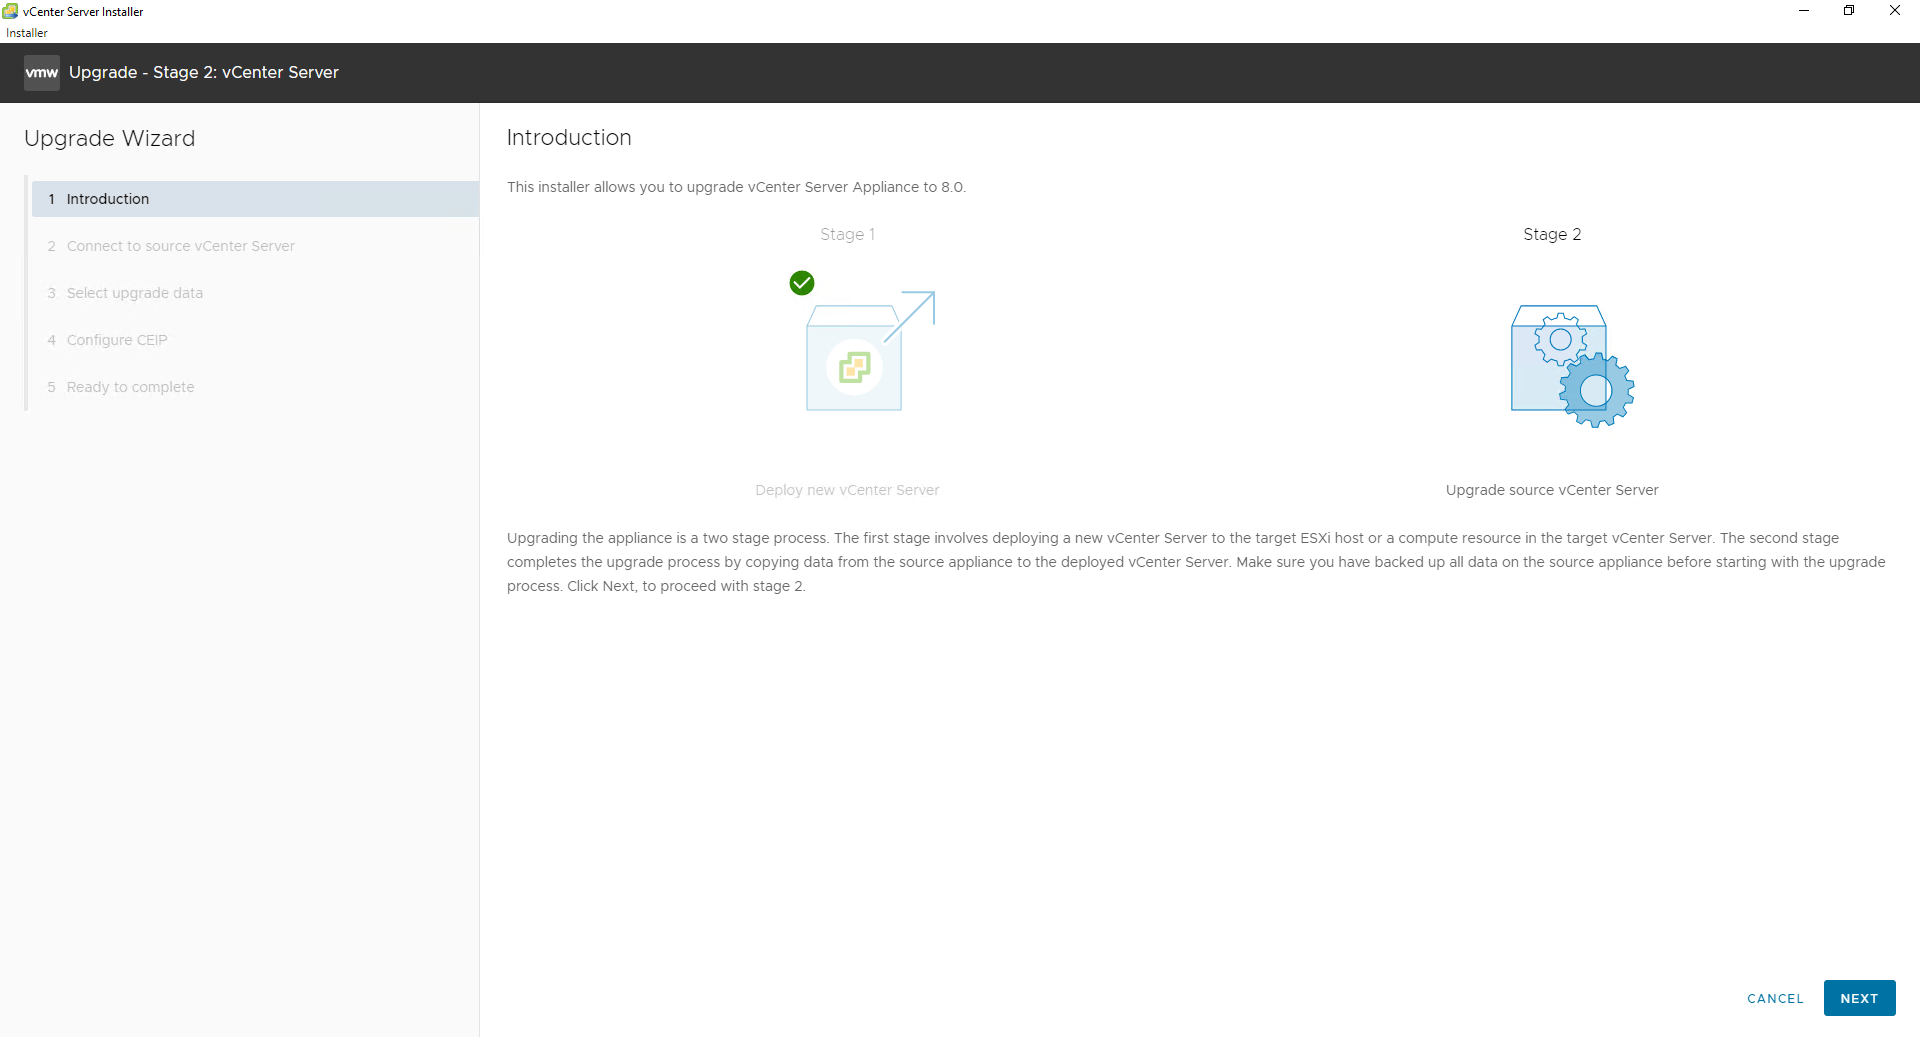
Assuming that you click the CONTINUE button on the last dialog within Stage 1 of the upgrade process, you are now greeted with the Stage 2 Introduction screen, which describes the remainder of the upgrade process.
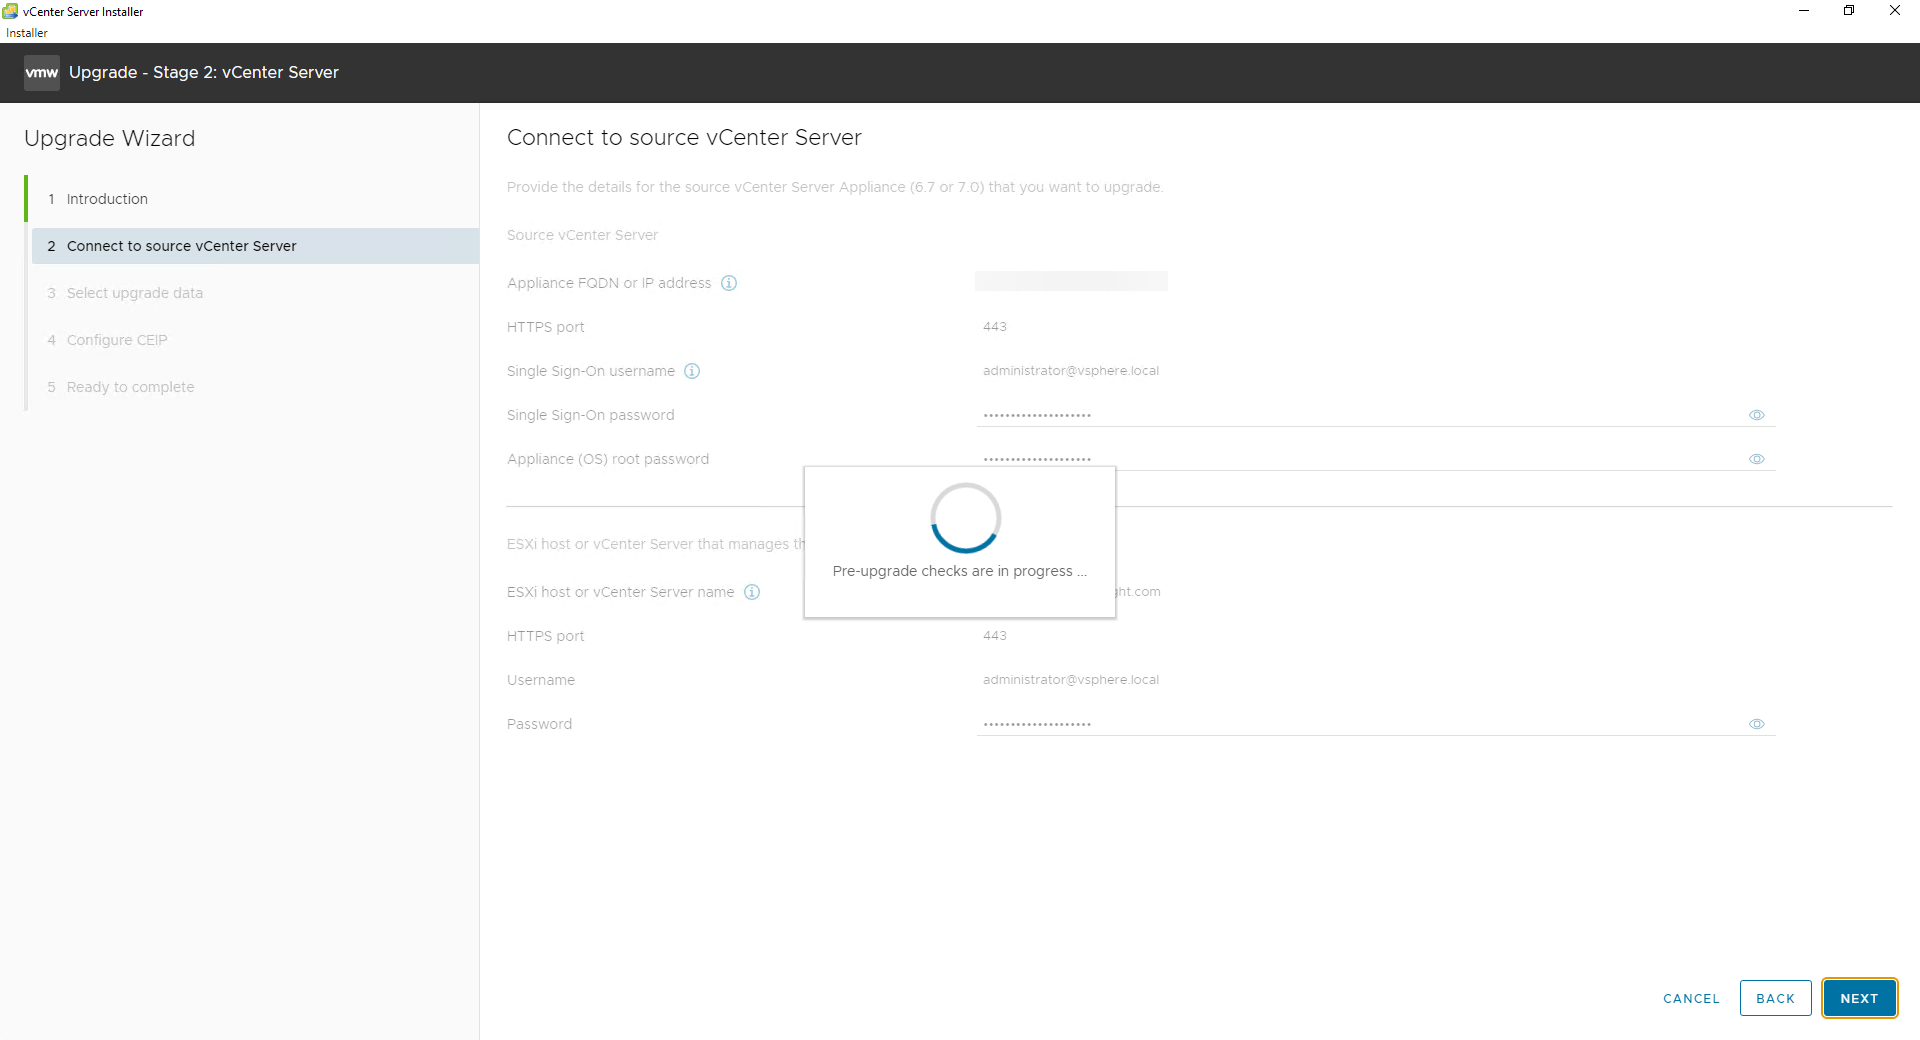
After clicking NEXT, the wizard will confirm that it can access the source vCenter Server appliance using the connection details provided during Stage 1 of the upgrade process.
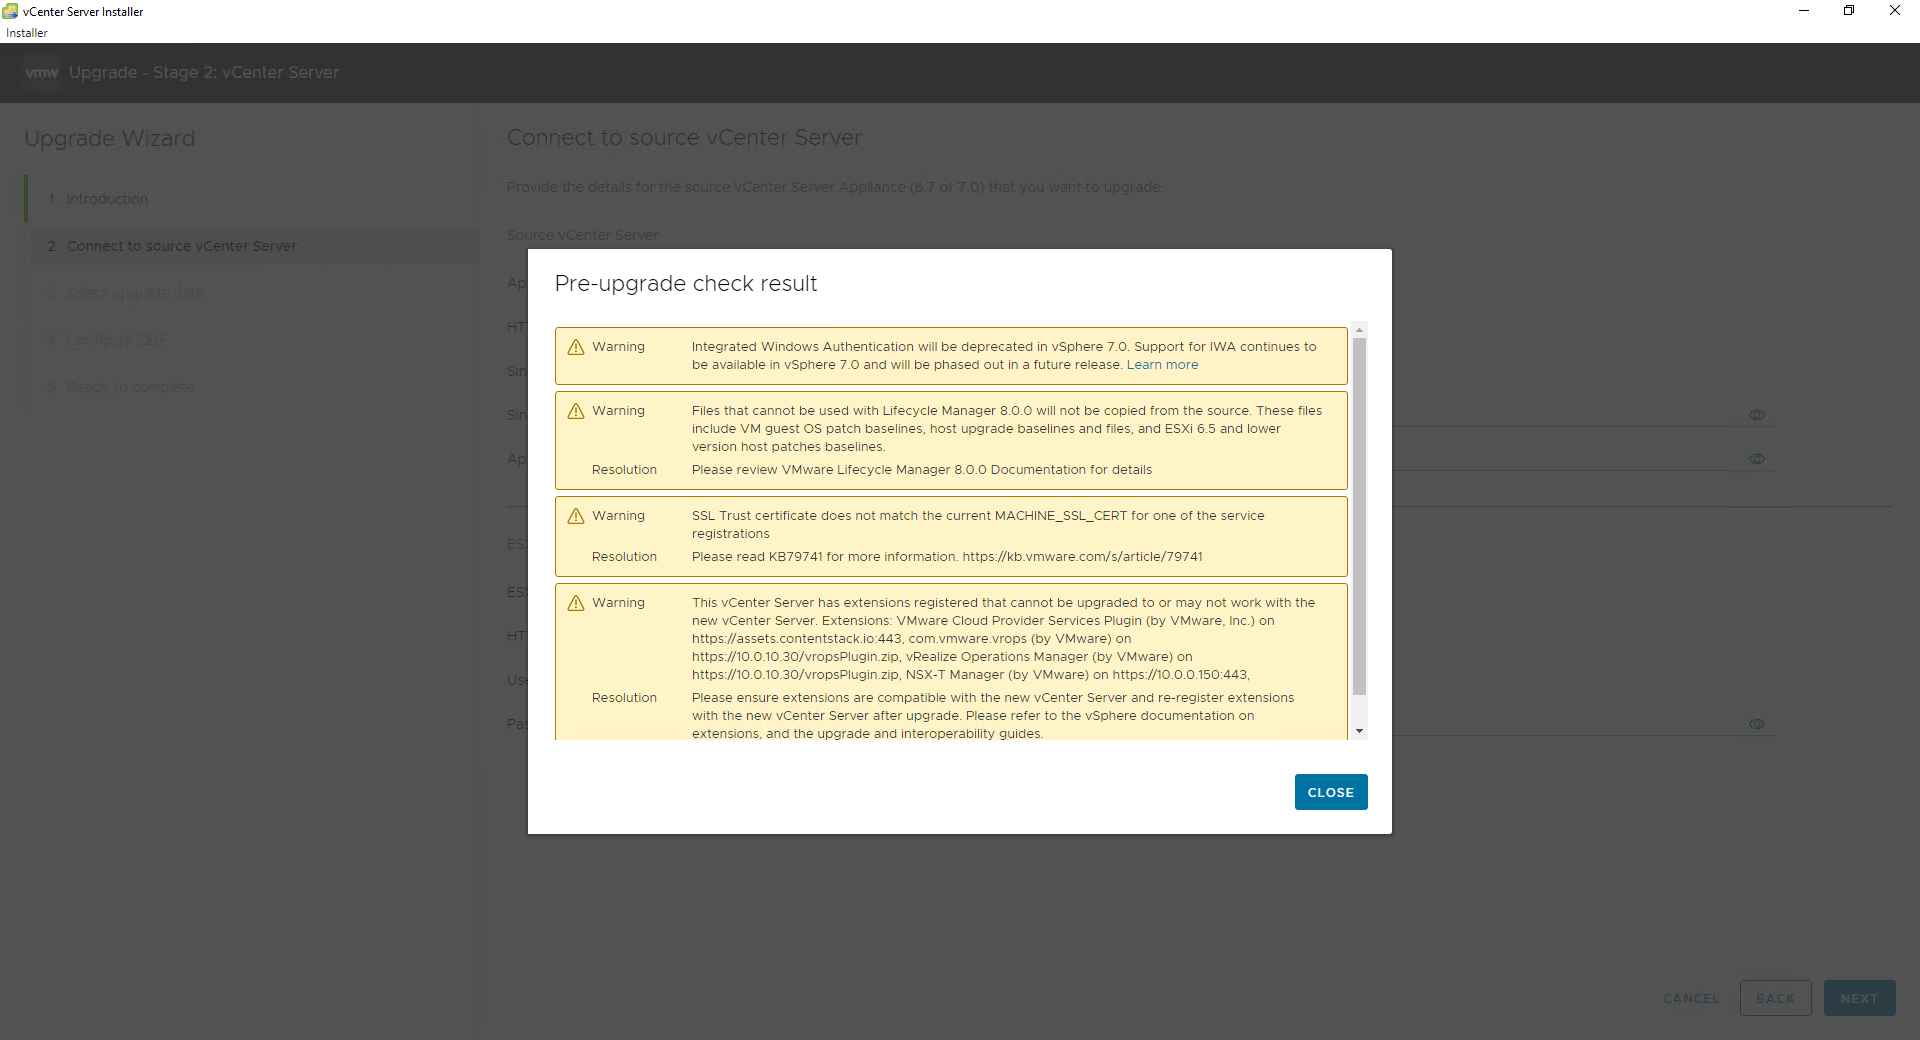
Next up, the installer will check the source vCenter Server and notify you of any warnings or issues regarding the upgrade to VMware vCenter Server 8.0. These warnings could include deprecated features, data that the installer will not migrate, certificate-related issues, or unsupported plugins.
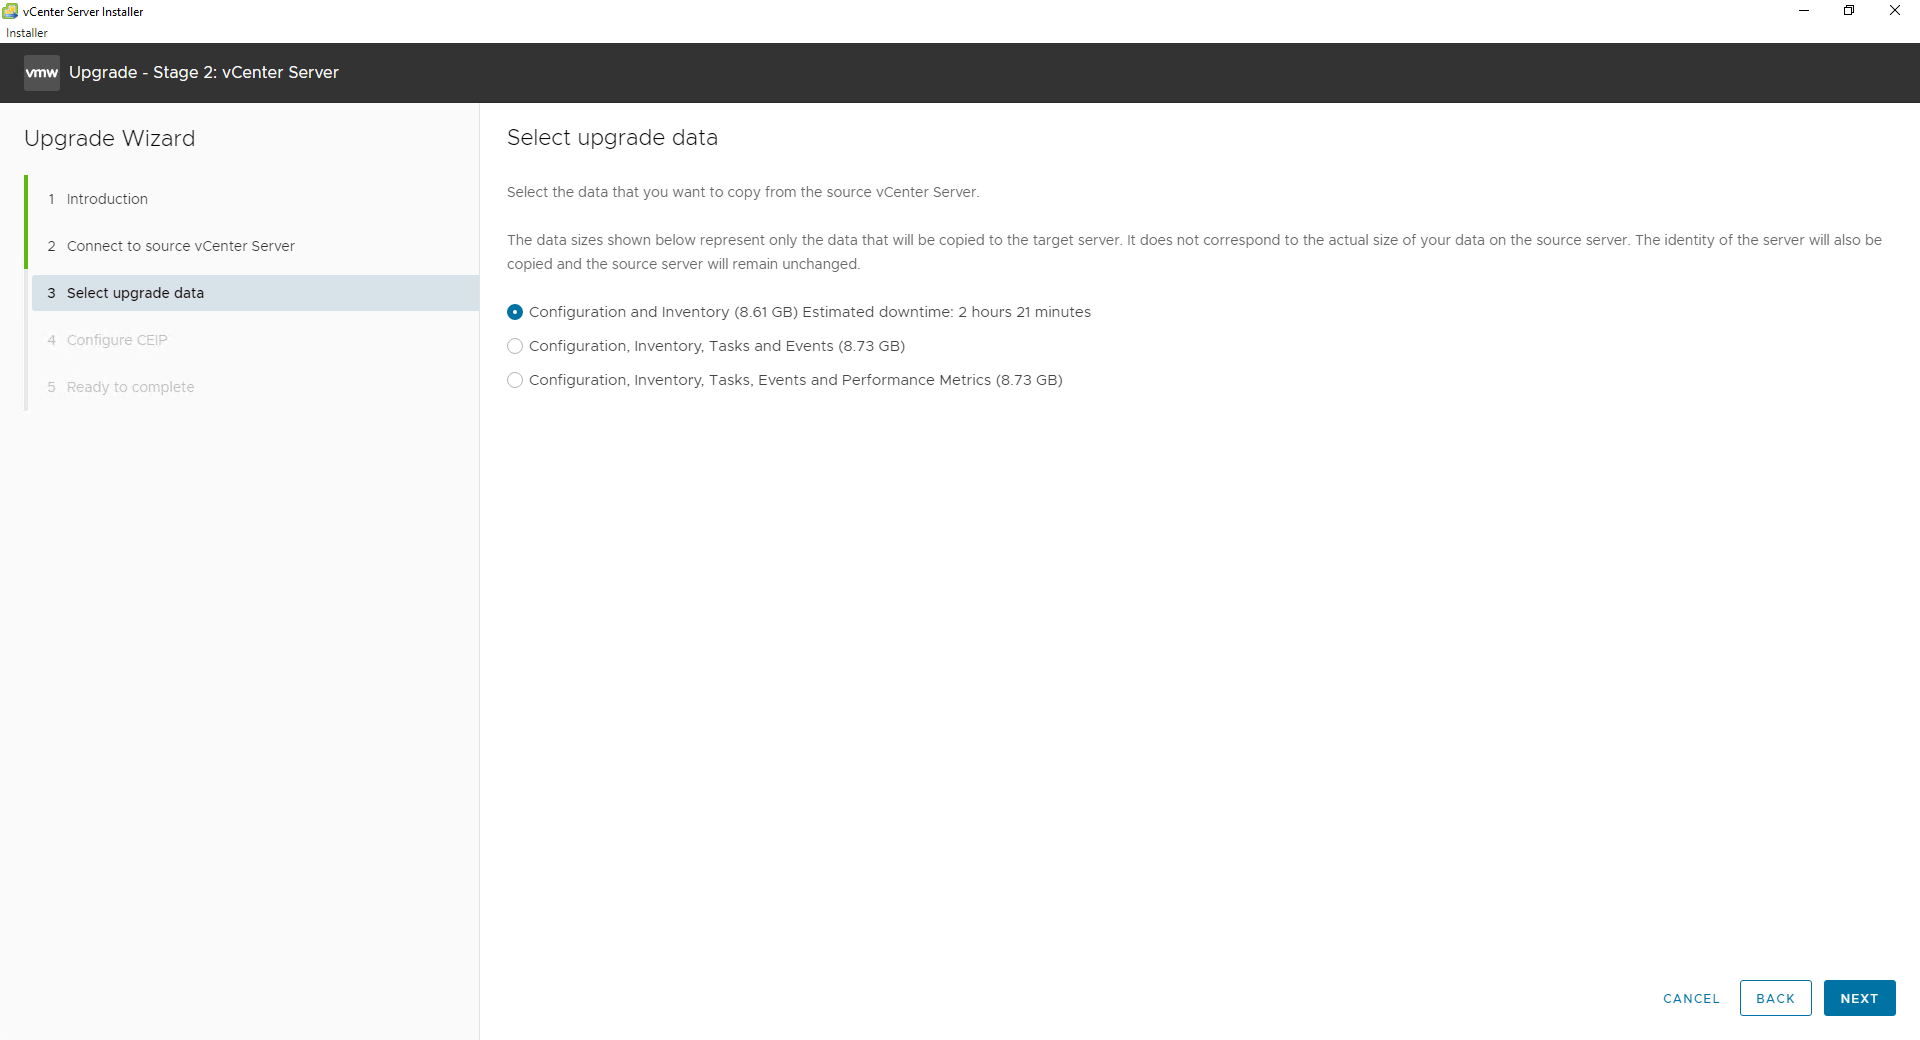
After reviewing the Pre-upgrade check results, your next task is to specify which data the upgrade process will migrate from the source VMware vCenter Server instance.
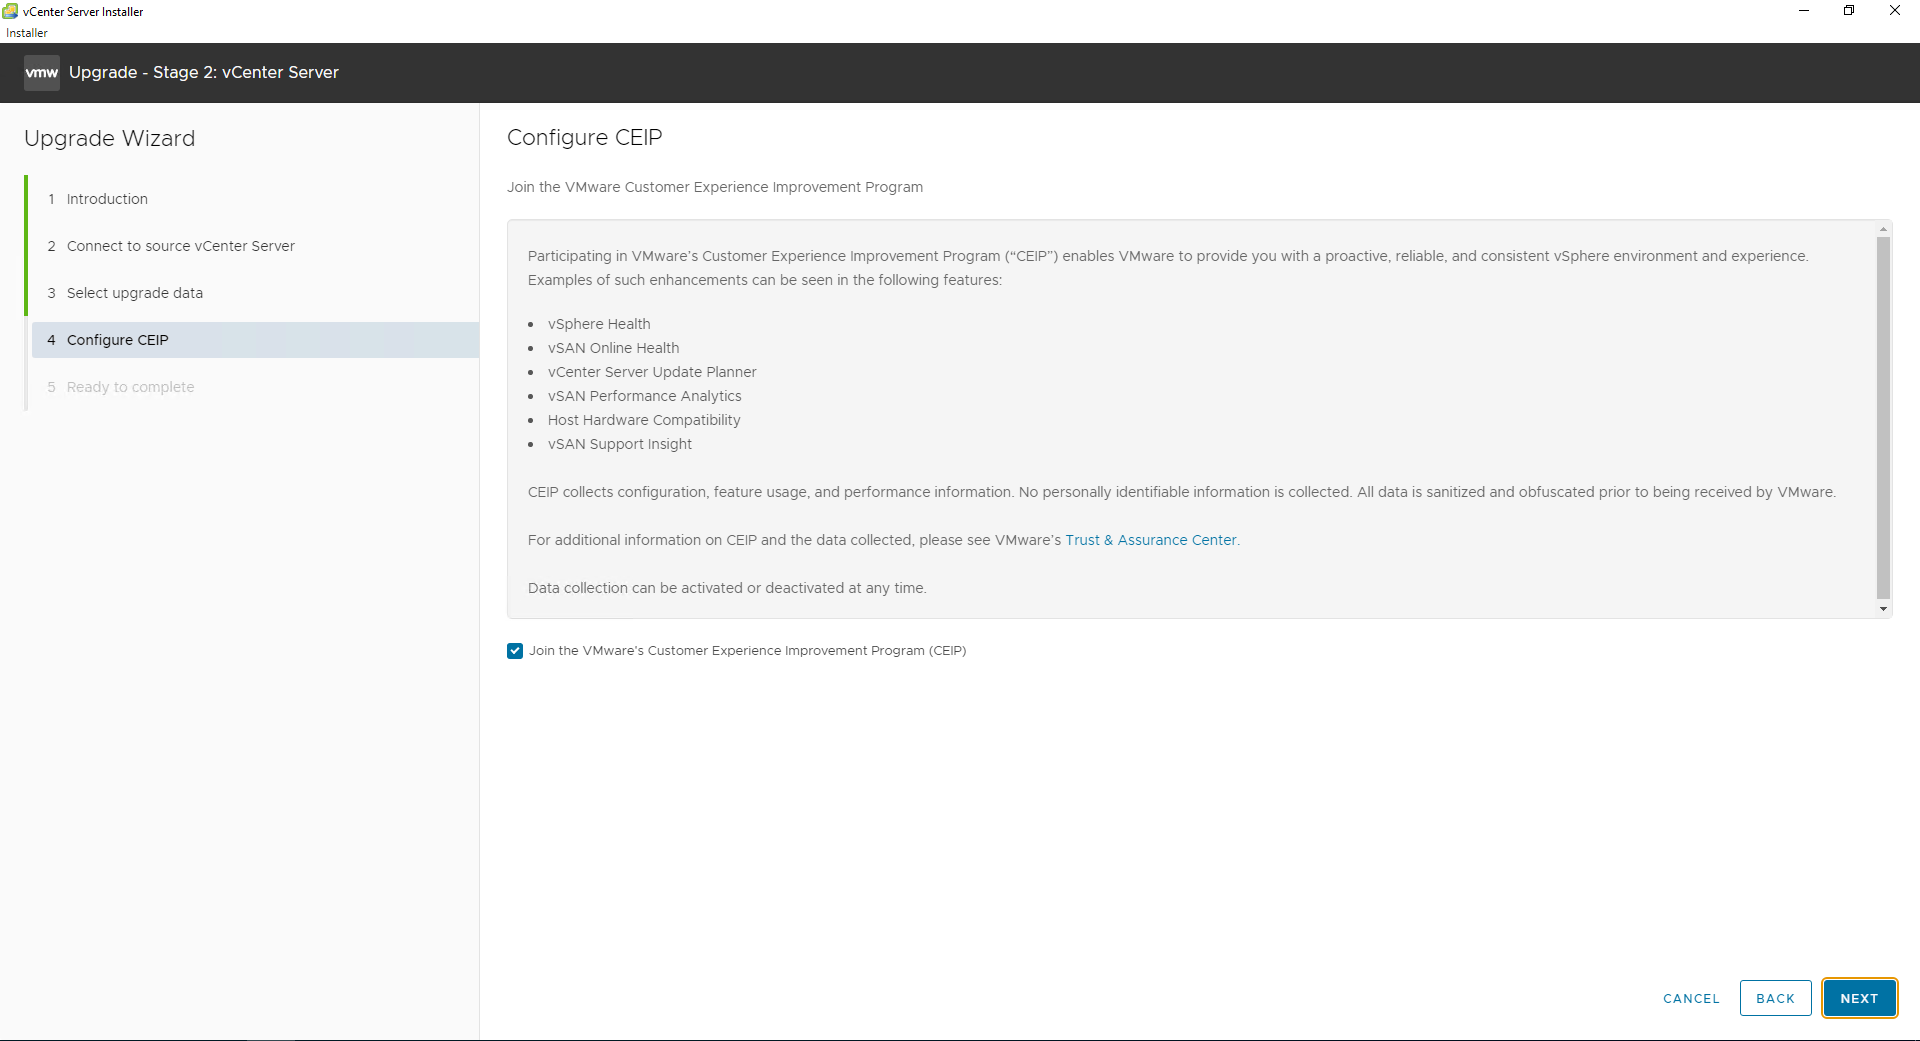
Specify if you wish to join the VMware Customer Experience Improvement Program (CEIP).
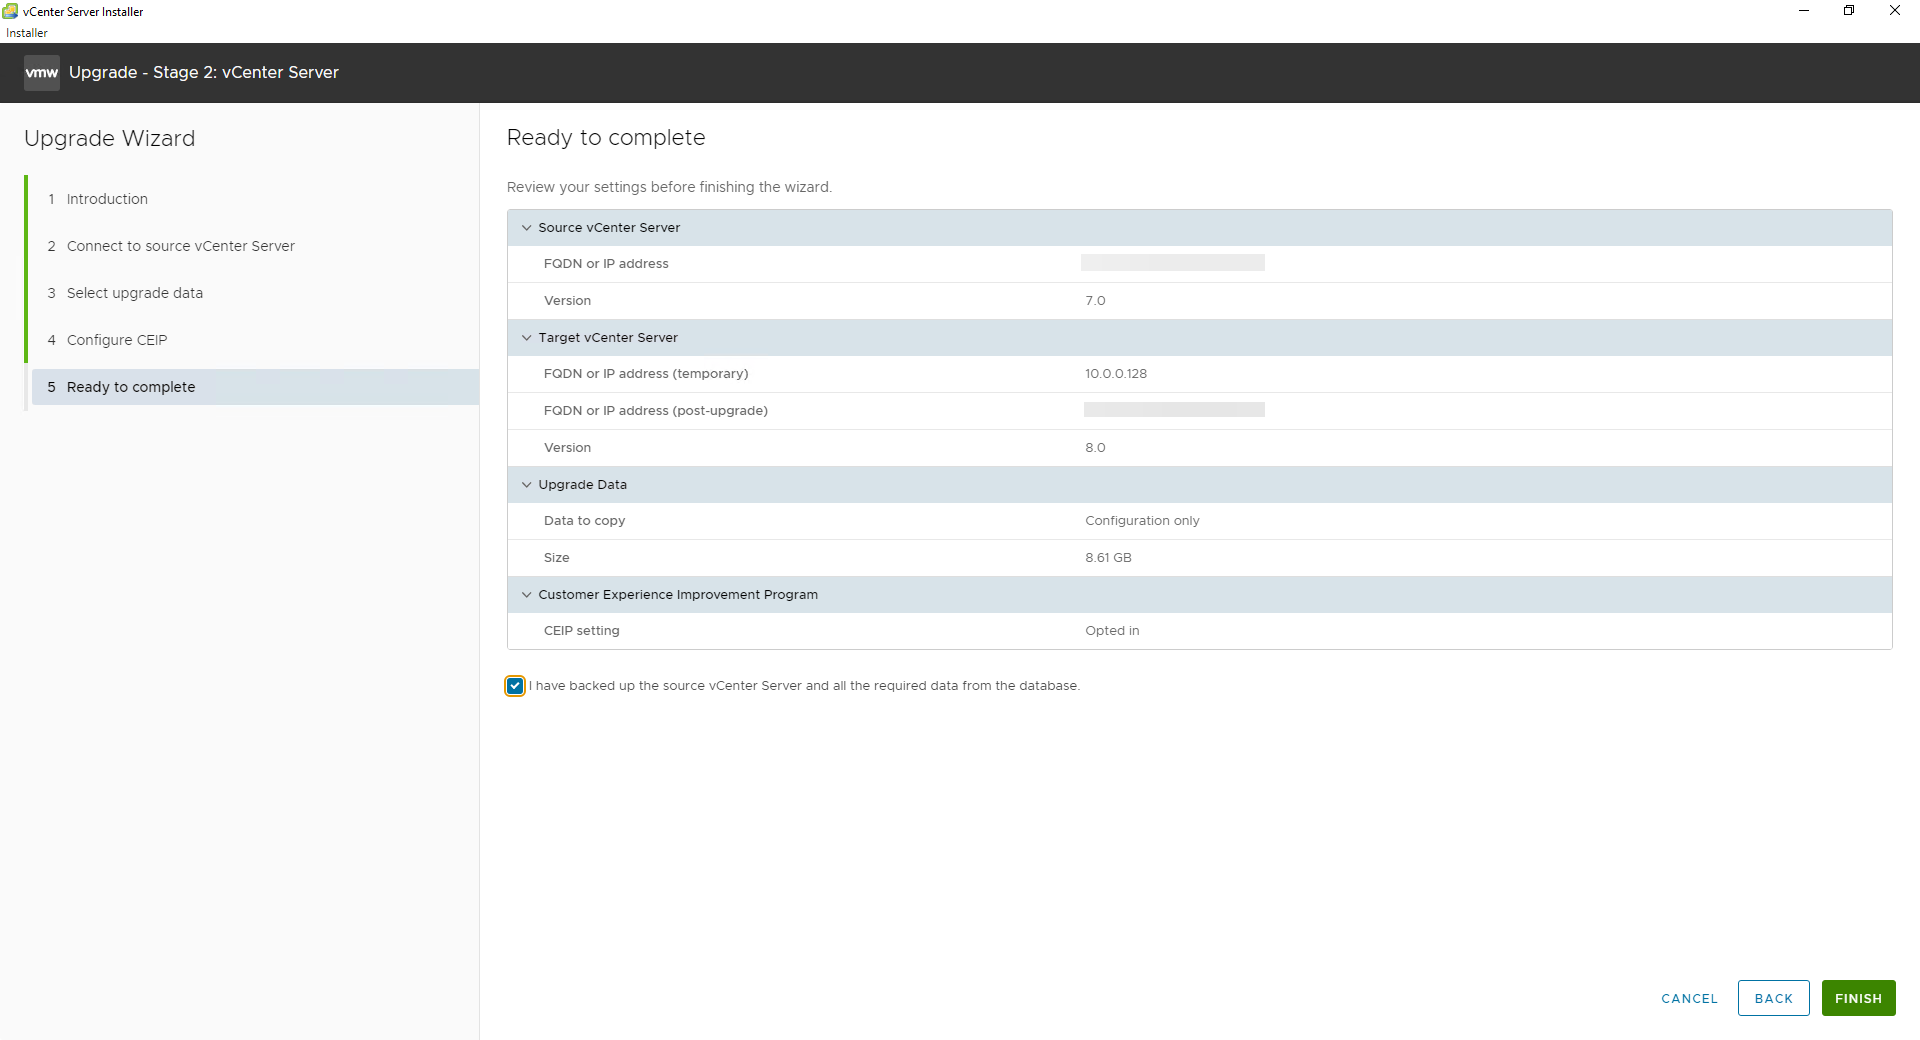
Finally, review the details you provided before executing Stage 2 of the process. If the data is correct, confirm that you have a backup of the source vCenter Server appliance and click FINISH to complete the remainder of the upgrade process.
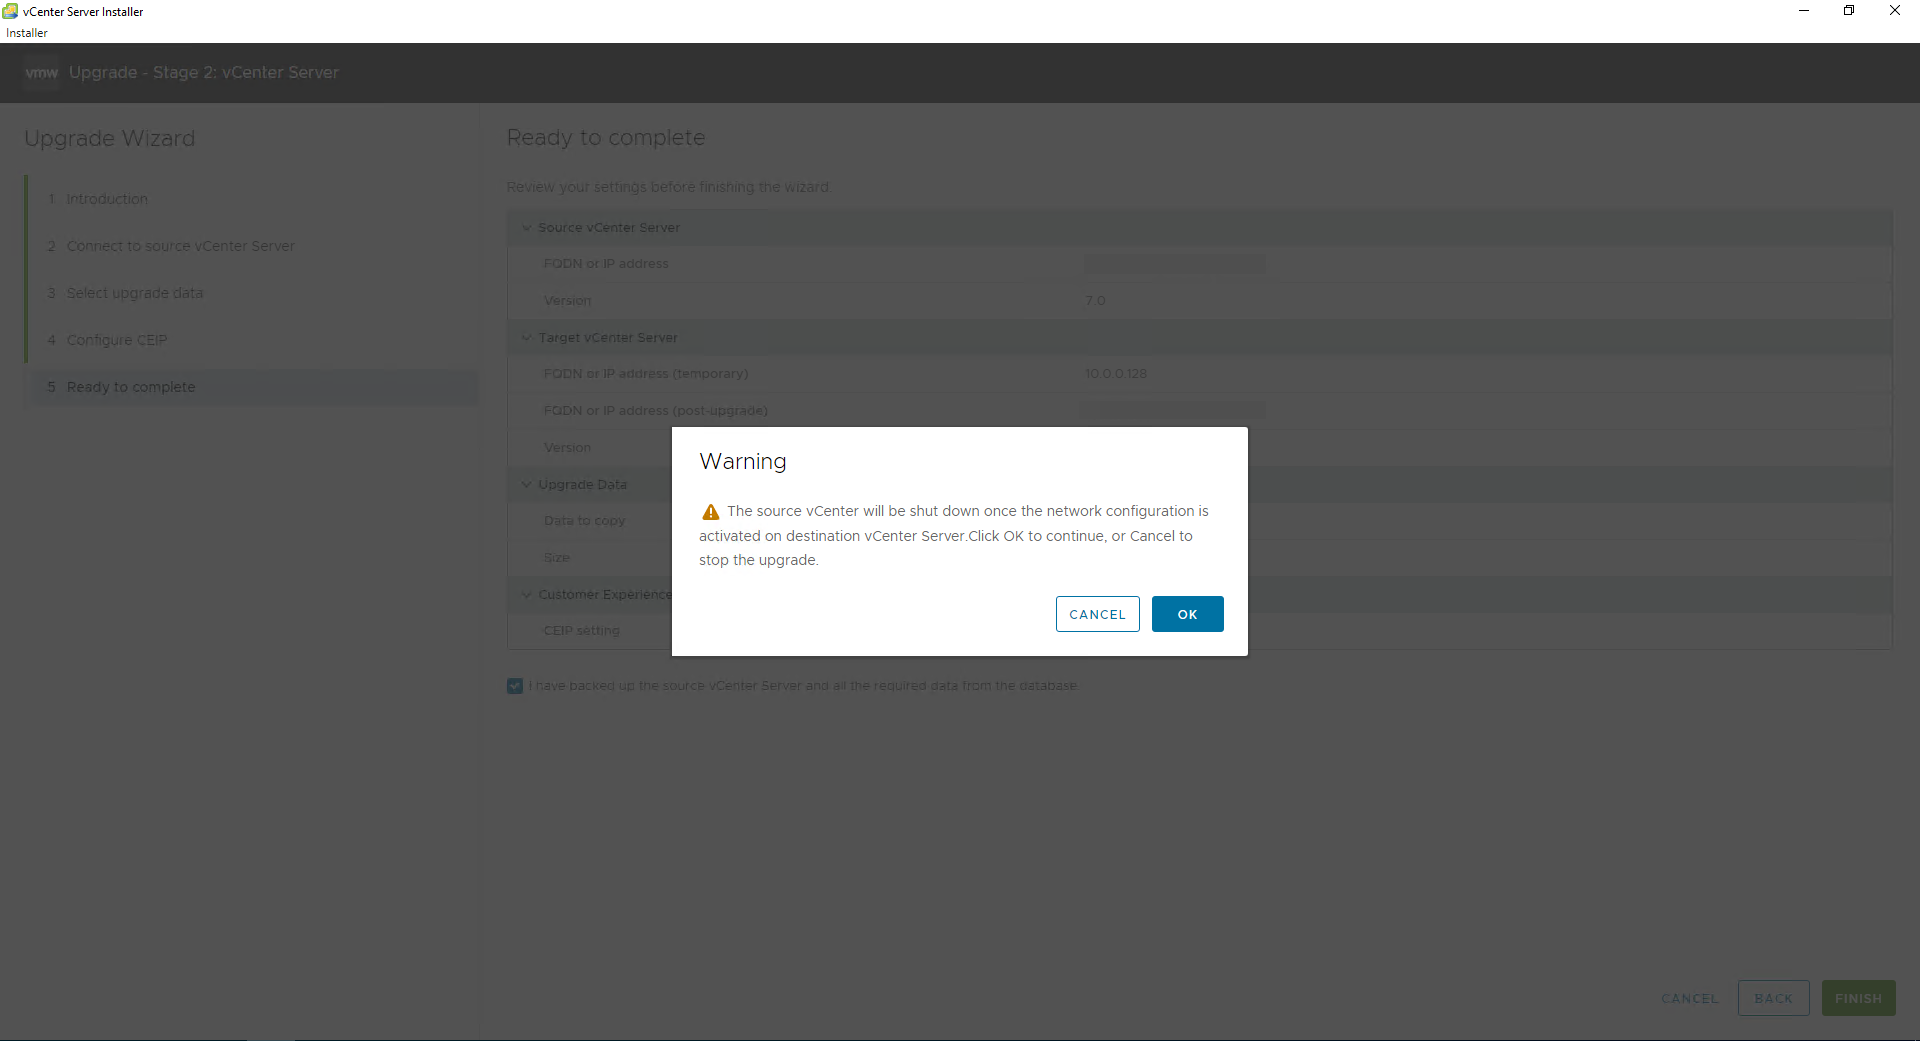
The installer will now warn you that it will shut down the source vCenter Server appliance once it migrates the network configuration to the VMware vCenter Server 8.0 appliance.
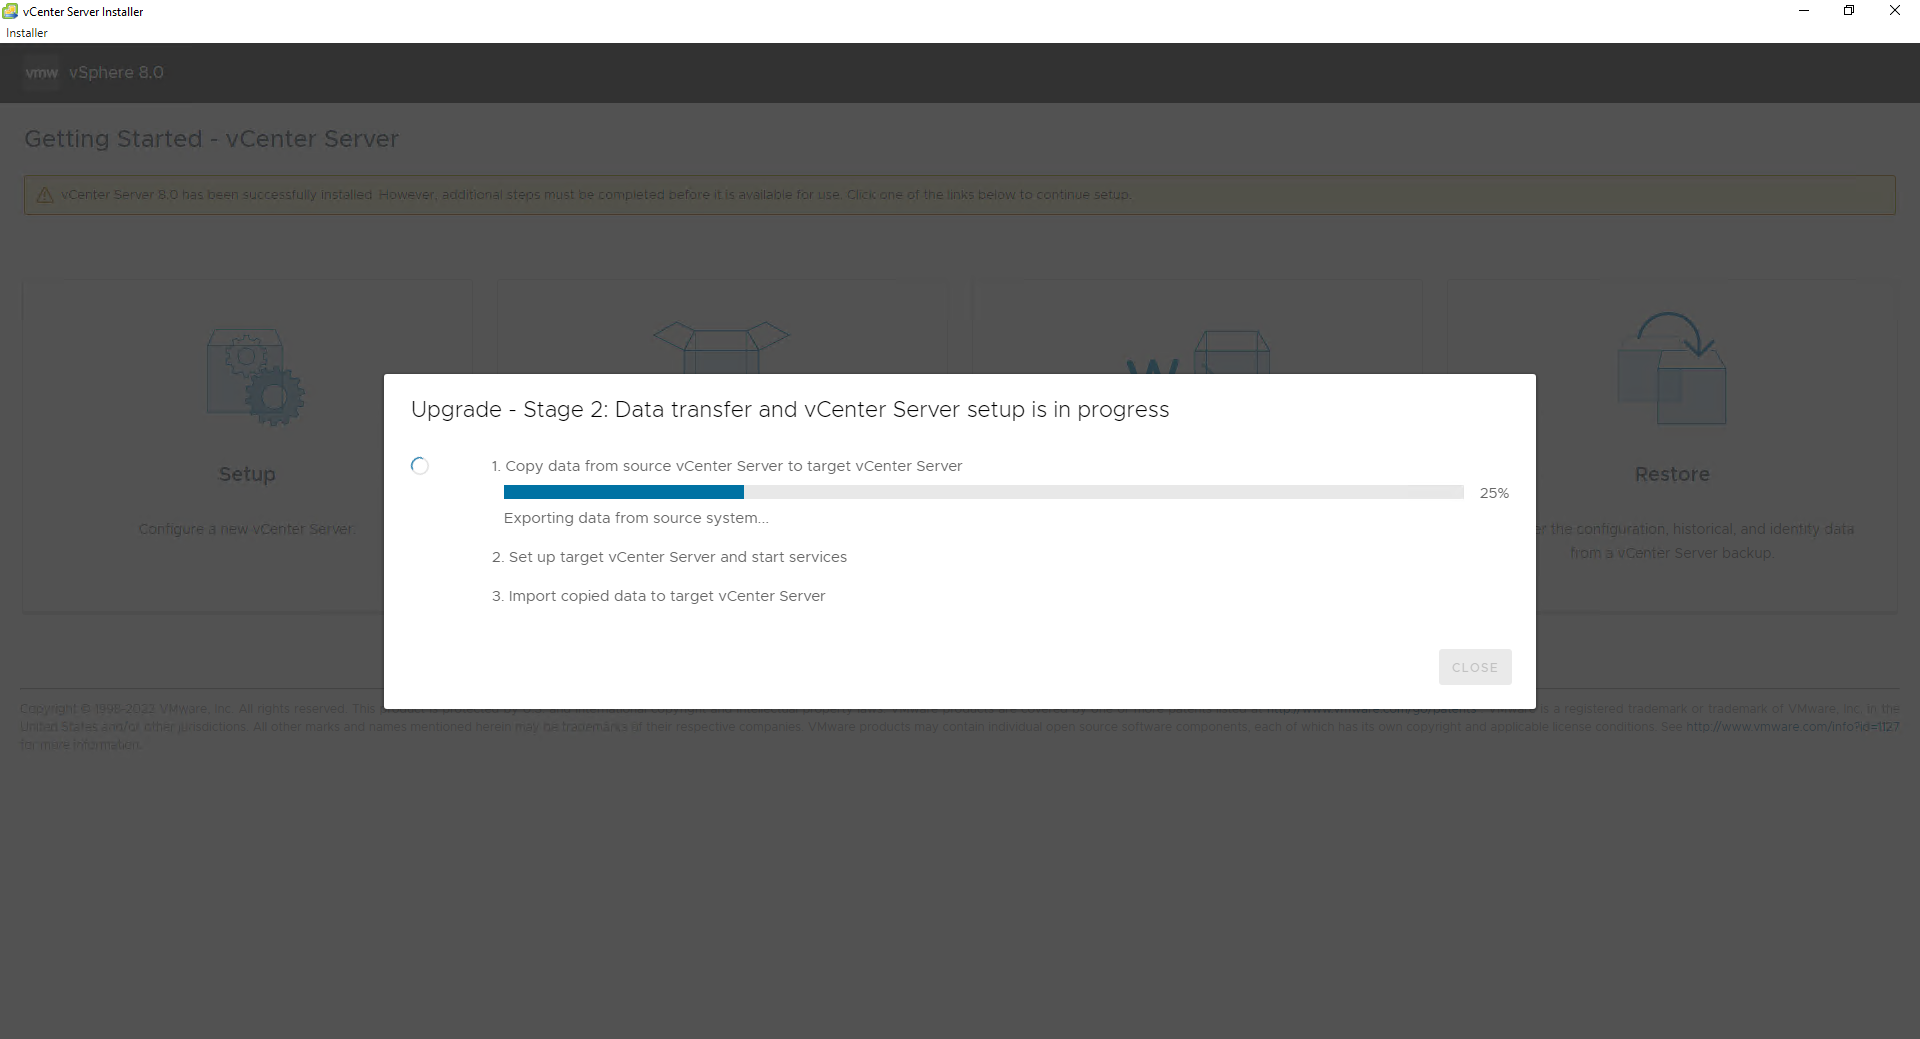
Again, the installer provides a progress dialog showing the data transfer and setup stages. The various stages of the process include:
- Copying data from the source vCenter Server appliance to the target vCenter Server appliance
- Setting up the target vCenter Server appliance and starting services
- Importing the data into the target vCenter Server appliance
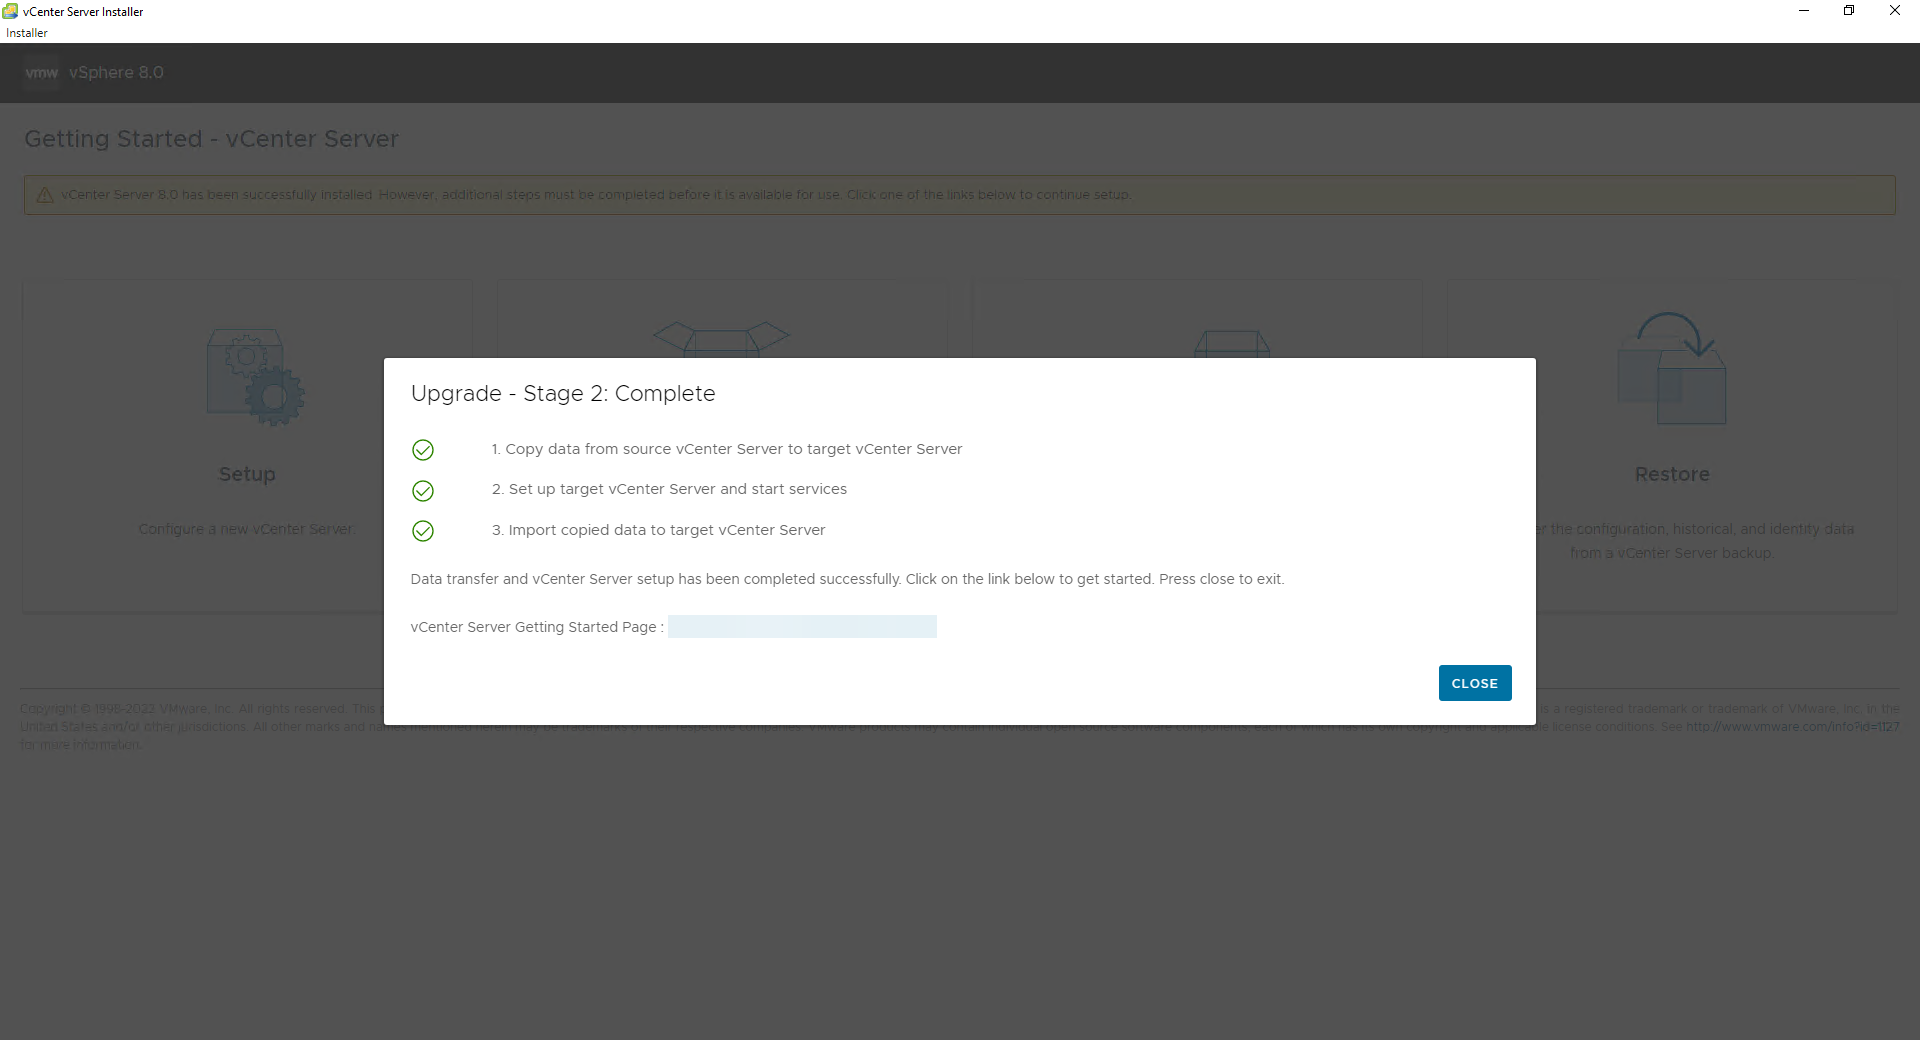
If all goes as expected, the installer provides a dialog confirming the completion of the setup process and a link to access the VMware vCenter Server 8.0 appliance.
Congratulations! You have completed the upgrade to VMware vCenter Server 8.0! For more information on VMware vSphere 8.0 and the upgrade process, please check out the following links:
- VMware Blog: Announcing: vSphere 8 Initial Availability
- VMware Blog: New Release Model for vSphere 8
- VMware vSphere 8.0 Documentation – vCenter Server Upgrade
- What’s New in vSphere 8?
- VMware vSphere 8.0 Release Notes
- Download VMware vSphere 8.0
See Also
- Introduction to vSphere Diagnostic Tool -
- VMware vRealize Operations 8.6.3 is Now Available -
- Instant VM Restore with Synology Active Backup for Business -
- VMware vSphere Virtual Machine Backups using Synology Active Backup for Business -
- Getting Started with the Synology Storage Console for VMware -
Search
Get Notified of Future Posts
Recent Posts
